Make better mixing decisions when it comes to processing your synth arpeggios.
Synth arpeggios are common ingredients within the style of Techno and many other sub-genres of electronic music. For those that are new to production, an arpeggio is a chord(s) that are broken into a sequence of notes. The sequence can span from one to multiple octaves. Furthermore, most modern synthesizers allow you to chose the order in which the notes are playing. For example, up, down, random etc.
The sonic range of synth arpeggios can be very diverse. Starting with short and plucky, full of sharp transients, all the way to softer, mellow and atmospheric. This allows you to deploy multiple mixing techniques depending on your end result in mind.
As with most synthesized leads there is always room for an equaliser to help tidy the sound up, cutting unnecessary low end or reducing a resonant frequency. Additionally we can emphasise a certain frequency band, for example a high shelf boost to help the sound be perceived as more upfront. Another tool to consider is a transient designer. Most arpeggios have a large dynamic range. This allows us to use transient designers to shape the attack and release stages. In affect this can contrast other elements in your mix. For example, if you already have spiky drums, you could tame the attack portion of the arp to make them blend well together.
We are also including some less conventional techniques such as pitch shifting delays and bit crushers. Sometimes the bit crusher might not be seen as a mixing tool. Yet, due to its ability to introduce harmonics and noise, it can be an irreplaceable utility to position sounds into the mix.
Join us on this step by step guide and sharpen your decision making when it comes to making synth arpeggios. We will cover the bread and butter mixing tools as well as spacial delays and reverbs to achieve the perfect arpeggios for your mix.
Step 1.
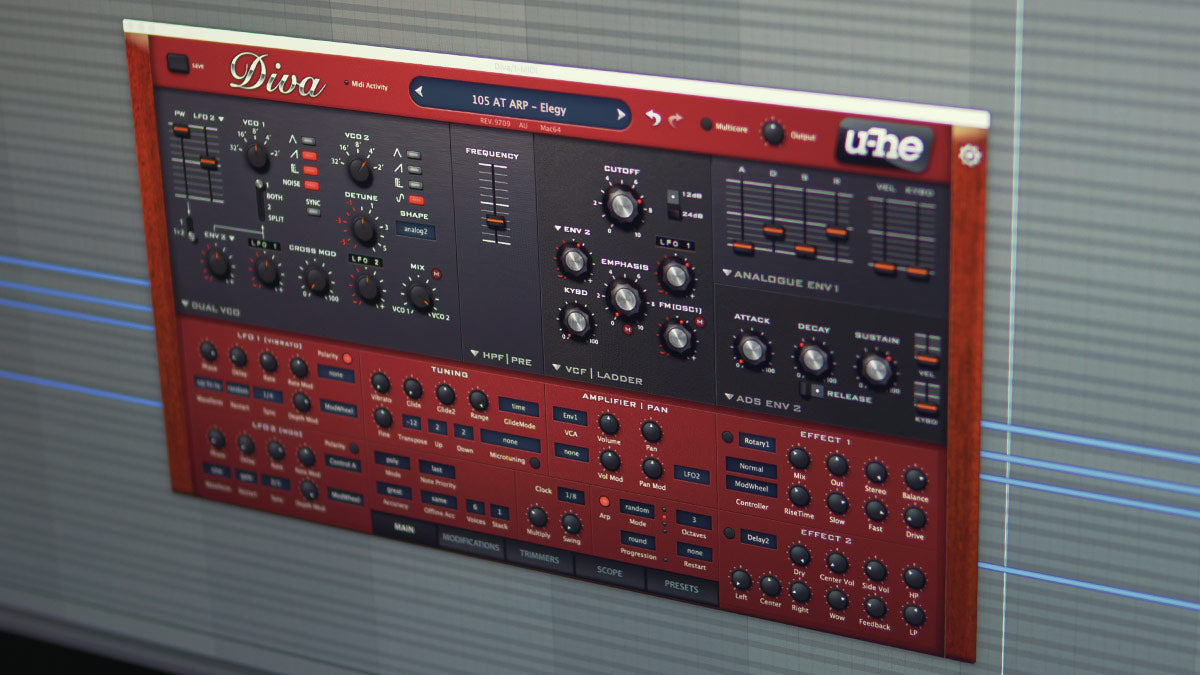
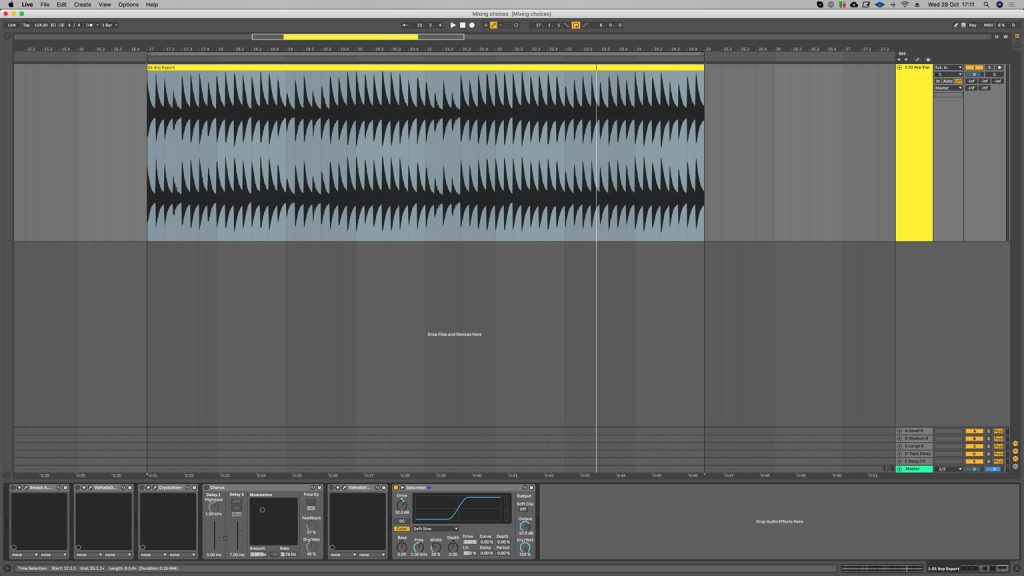
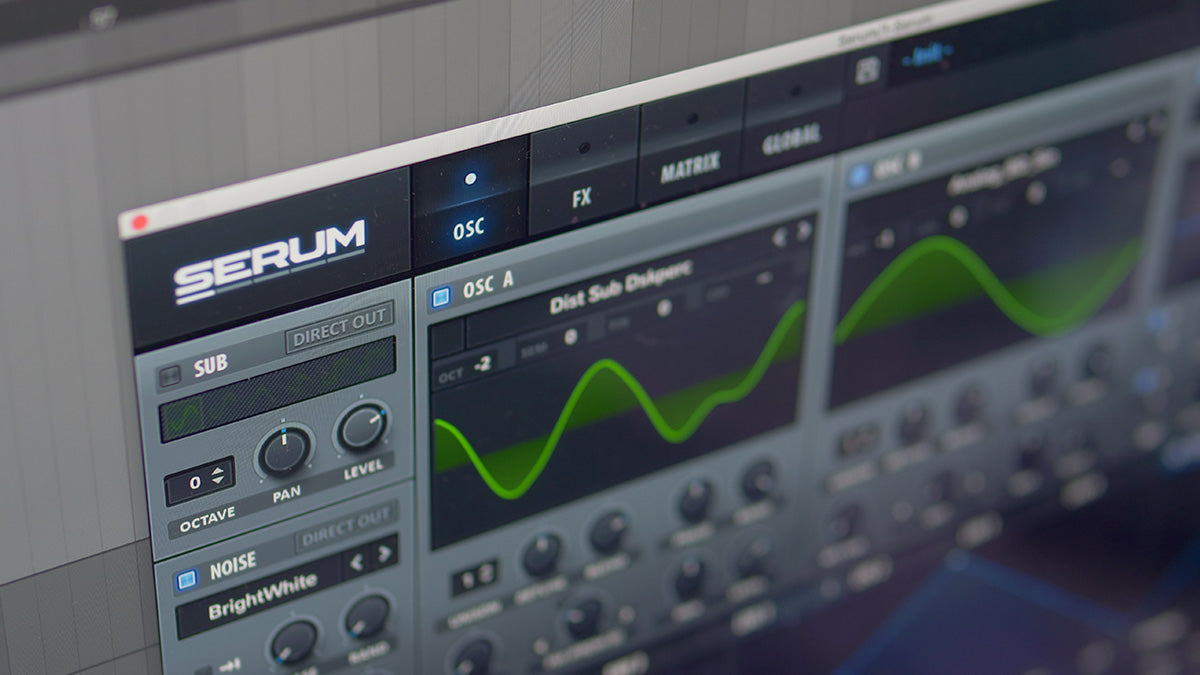
First of all lets choose an arpeggiator synth preset. In this example we will use a preset called ‘Elegy’ from the Audiotent Rectify u-he Diva library. This sound contains a nice foundation and dreamy like timbre mixed with a touch of white noise. We are not going to cover the sound synthesis part, as this step-by-step guide will be all about the mixing choices for arpeggios.
Step 2.
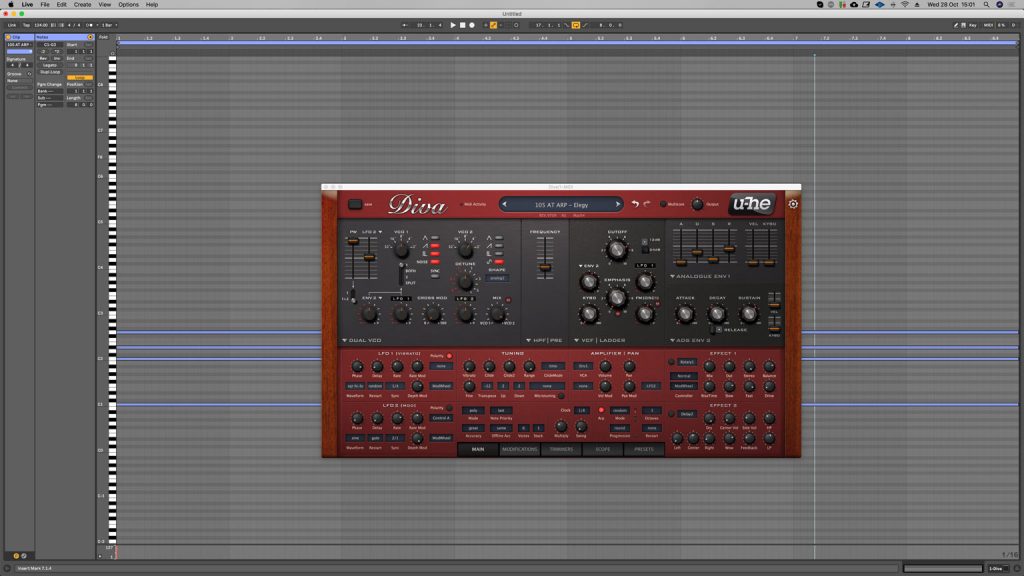
Arpeggios tend to have a natural sense of rhythm and we can emphasise that with the use of a transient designer. For the task we used the Waves Smack Attack transient shaper. This plugin gives a large range of control over the attack amount, sensitivity and shape. Using a small attack boost of 37 allows the initial transient of each note to be heard clearly.
Step 3.
When working with consistent rhythmical patterns, such as 1/8th and 1/16th notes. A regular delay will not necessarily bring the most noticeable affect due to the delay repeats being directly on the grid with the original source. A more practical approach in this scenario is to use un-synced delay times.
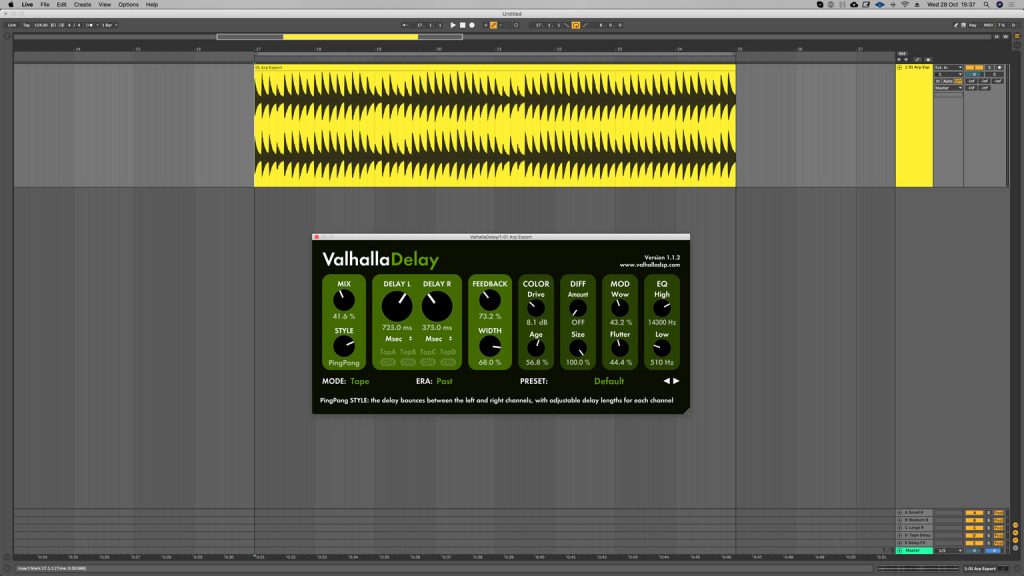
Step 4.
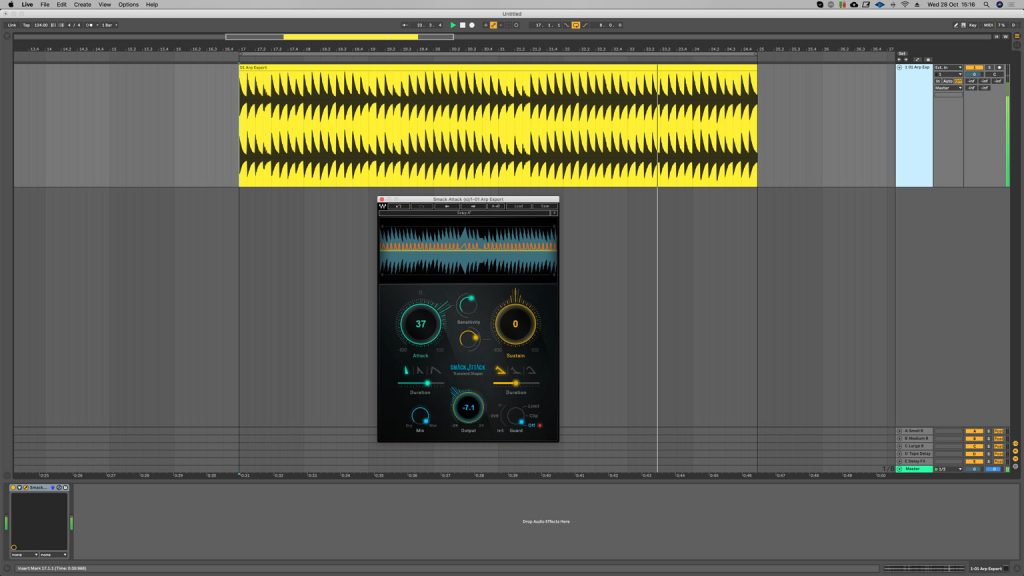
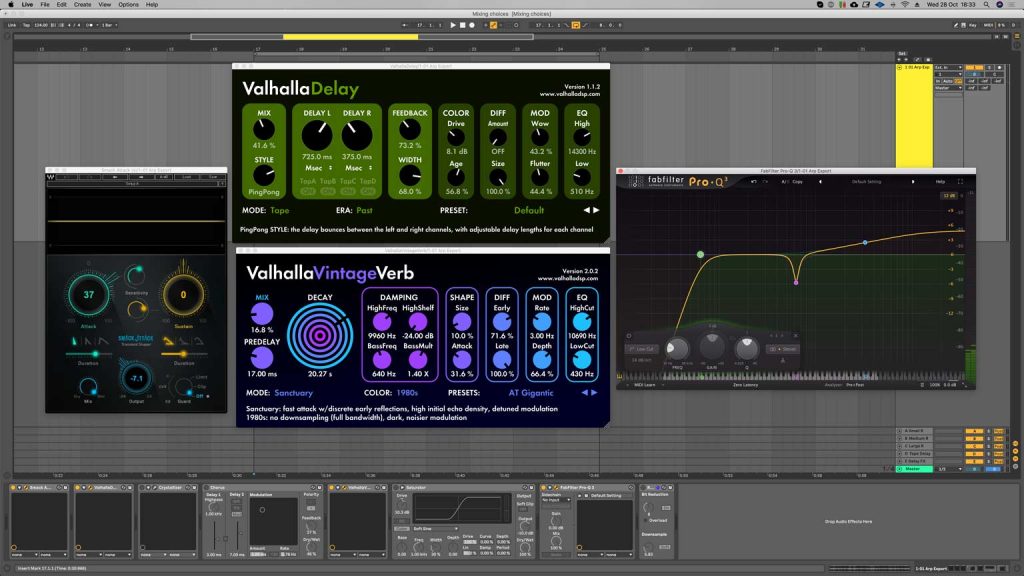
One of our go-to software delay plugins is the Valhalla Delay. From the default preset we changed the delay sync parameter from note to Msec. This allows us to dial in the delay time by ear. In addition to the timing adjustments, the feedback was increased, allowing the repeats to overlap one another. The wet signal was generously increased to 41% making it sit just underneath the dry signal.
Step 5.
If your arpeggiated synth is playing a narrow octave range you can add additional harmonic content by applying a pitched delay effect. This tool allows us to take a standard delay further and have full control over the pitch of the delay tails. We set our pitch control to -1200 cents, this is equal to one octave below our dry signal. A wet value of around 30-40% is used to balance the amount of effect with the dry source sound.

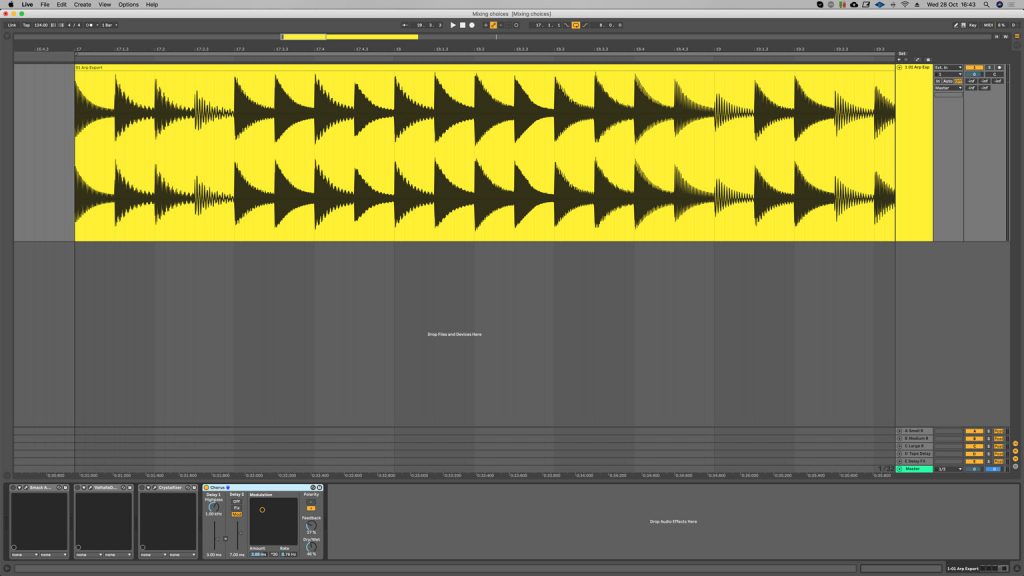
Step 6.
Chorus not only has the tendency to make the source sound wider. It can also soften the attack, opposite to what we did with the transient designer. This technique can be useful if you want your arp to sound less upfront and take the backstage in the mix. Most stock DAW chorus plugins will give you a good range of options.
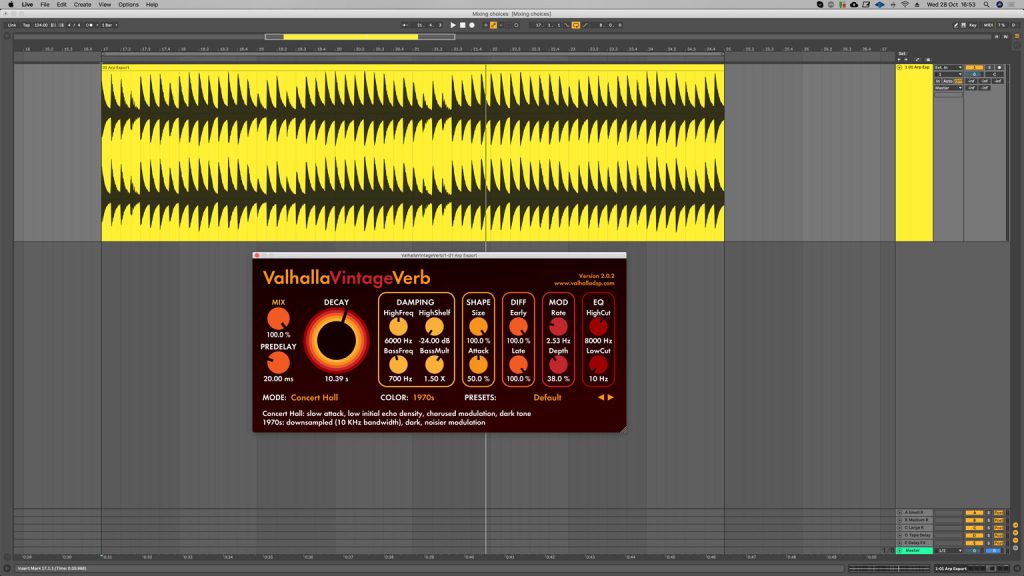
Step 7.
There are no limitations to what size or type of reverb you can use for an arpeggiated synth. It all comes down to what feelings and emotions you are trying to portray with your music. We tend to gravitate towards longer decay times that create drone like textures in the background. This works especially well for intros and outros within the arrangement.
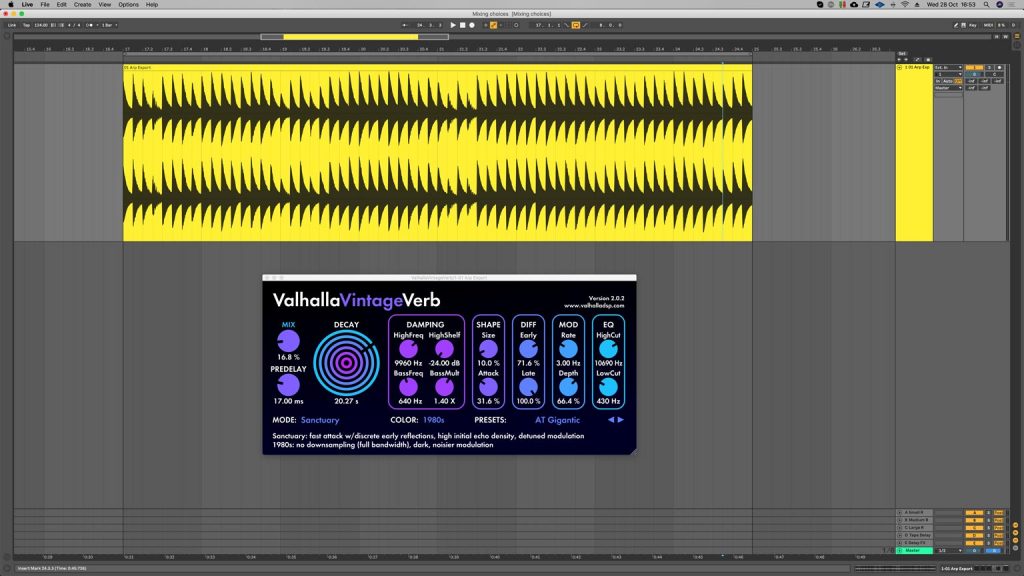
Step 8.
To illustrate the effect, we are using a preset called AT Gigantic from the Audiotent Spaces bank for Valhalla VintageVerb. The decay parameter is extremely long, 20 seconds in length. This delivers the dreamy drone texture we were looking for. A little advice, taking time to dial in the EQ can shape the reverb and narrow its frequency range, making it sit better within the mix.
Step 9.
If your arp sequence is getting lost between all the other elements in your composition, saturation can be just the right tool for the task. It is particularly more affective when applied to harmonically simple sounds. Ableton’s Saturation plugin has a broad choice of algorithms each with its own colour and response curve. There was a substantial amount of drive applied which brought the arpeggiated synth forward whilst creating additional overtones.
Step 10.
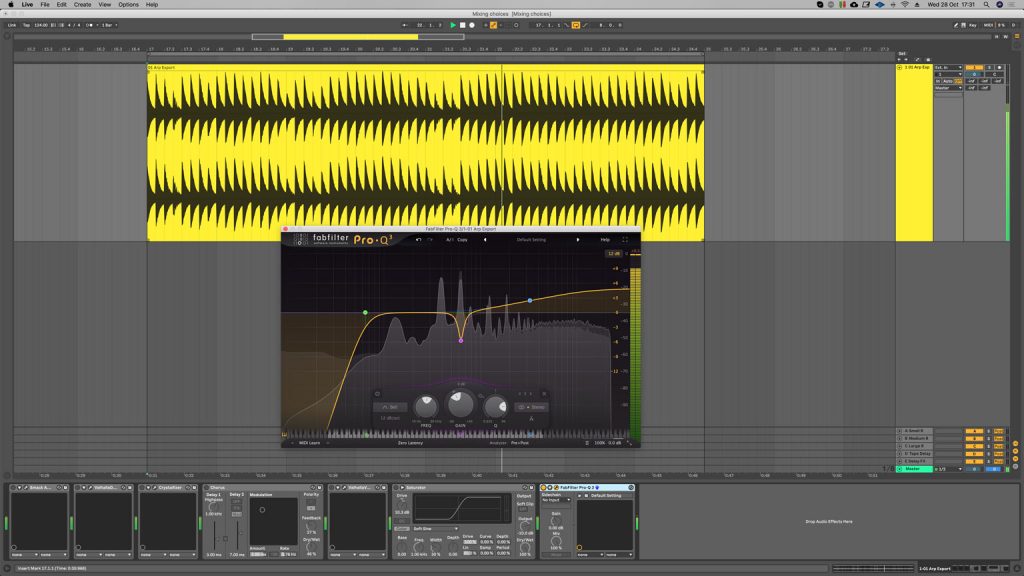
EQ is still one of the most functional tools when it comes to altering the frequency curve of the sound. We can use it to our advantage for synth arpeggios. First we apply a gentle 18 dB/oct low cut at 64 Hz. This eliminates any unnecessary low frequency rumble. Next we add a smooth high frequency shelf to bring up the bright noise presence in the patch. Lastly, a surgical cut at 629 Hz was made to soften a particular resonant note that present.
Step 11.
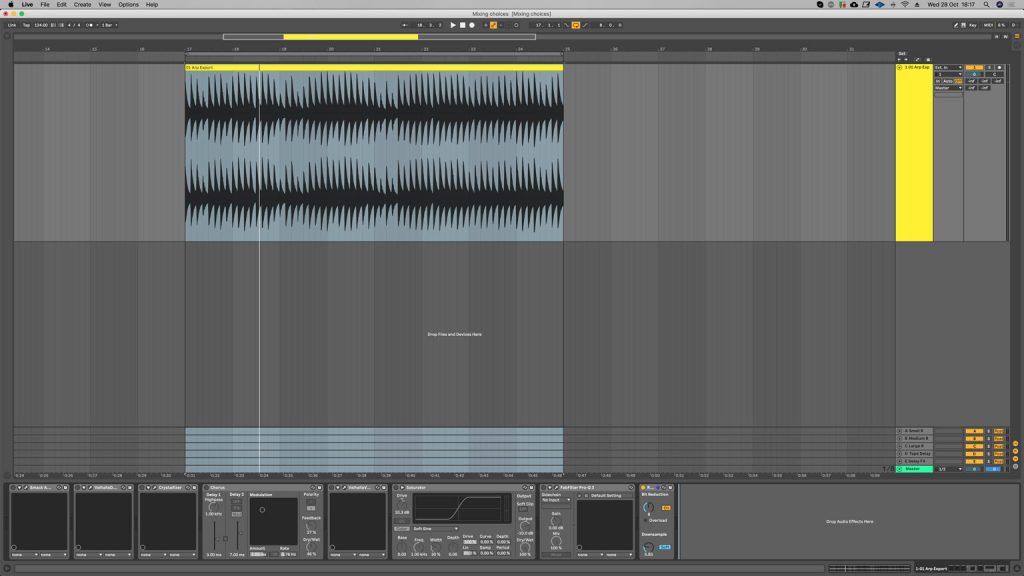
The last tool in our toolbox for mixing arpeggios is a bit crusher. This effect can be the most destructive if overused. If you take your time to dial in the right settings you will be rewarded. With Ableton’s Redux we engaged the bit reduction and lowered it to 8-bit which emulates old-school samplers. Lastly, the downsample mode was set to 5.8 which reduces the resolution and gives the trademark bit-crusher sound to the high frequencies.
Step 12.
Many of the techniques we have covered work well together. We use a combination of these to drastically transform the sound and fit it into the mix. One of the combinations that worked best for this example was a transient designer into the un-synced delay. This then fed the long decay reverb and finishing up with a touch of EQ. The result is a highly textured and more alive sounding sequence.
We trust you enjoyed following on this step-by-step tutorial. Now its your turn to implement these techniques into your own productions.
Liking the sounds used in this example? Access them all from the following links:
Rectify // u-he Diva Presets - https://www.audiotent.com/presets/rectify/
Spaces // Valhalla VintageVerb Presets - https://www.audiotent.com/presets/spaces/
This article was written by Neil & Ed (Audiotent) and can also be seen in Computer Music Magazine.
Leave a comment
This site is protected by hCaptcha and the hCaptcha Privacy Policy and Terms of Service apply.