Learn how to use reverb, vintage EQ, compression and saturation to deliver a distinct character to your drums.
Programming drums using a variety of sound sources can result in your drums sounding incoherent. The solution is to apply a select few processing techniques to a drum group.
We will get into balancing the individual channels. Sending all of the drum stems into one group ready for processing. Reverb will be used to imprint a distinct ambience and affect the way in which the drums will be perceived.
Before modern advancements in digital technology, vintage outboard equipment was used to shape and colour the signal path. Current digital emulations of sought after vintage gear has come along way, sounding extremely close to its predecessors. Therefore we can apply the same techniques and access a distinct character of the past without breaking the bank.
The main benefit of grouping is the ability to affect all the individual stems with the same processor. This is especially useful when the aim is to accomplish a more unified instrument group. More notably, it’s the tools that introduce harmonic distortion are the ones that have the biggest change to the personality of the sound.
After reading through this step-by-step guide we trust you will be armed with the knowledge to add your own signature ‘charisma’ to your drums. Take this approach and don’t be afraid to apply the same principles to other instrument groups.
Step 1:
In the first step we are programming a techno inspired drum groove. It consists of the following key elements; Kick, hi-hats, drum top loop, low percussion and rumble. The BPM of choice is 128 to keep the energy peak time. All of the sounds are sourced from two Audiotent sample libraries - Curve & Morph.
Curve // Full-Size Library - https://www.audiotent.com/samples/curve/
Morph // Full-Size Library - https://www.audiotent.com/samples/morph/

Step 2:
The selection of drums are sounding pretty good so far. However, they lack cohesiveness due to the fact that each individual sample comes from a different source. It is highly likely that different equipment and recording techniques have been deployed to capture the audio. Our aim is to use modern mixing techniques to bring all of the drum layers together. This results in a unified drum group with its own distinct character.

Step 3:
Let’s start by selecting all of the individual channels and sending them into one group which we will call ‘Techno Drum Group’. Before we go into the group processing, it’s good practice to get the mix levels balanced nicely. Otherwise, for example, if you have your kick drum way too loud against the rest of the drums, it will drastically influence the rest of the processing will react.

Step 4:
One of the most conventional techniques to make a group of sounds unified is to apply a reverb. This gives the listener the impression that all of the drums were recorded in the same space. We are not looking for a long, cathedral like effect, rather a small room which we can dial using early reflections of the reverb.

Step 5:
Any reverb could potentially work for the task. In our case, we used our trustworthy Valhalla VintageVerb. It gives you unprecedented control over the early reflections of the reverb. Keep the decay time very short. Anywhere between 20ms to 80ms should give you optimum results. We don’t want the group to sound unnatural therefore we are using a mild amount of the wet signal. In our example we have chosen one of the Spaces - Audiotent presets for Valhalla VintageVerb called AT Aquarium. More info here: https://www.audiotent.com/presets/spaces/

Step 6:
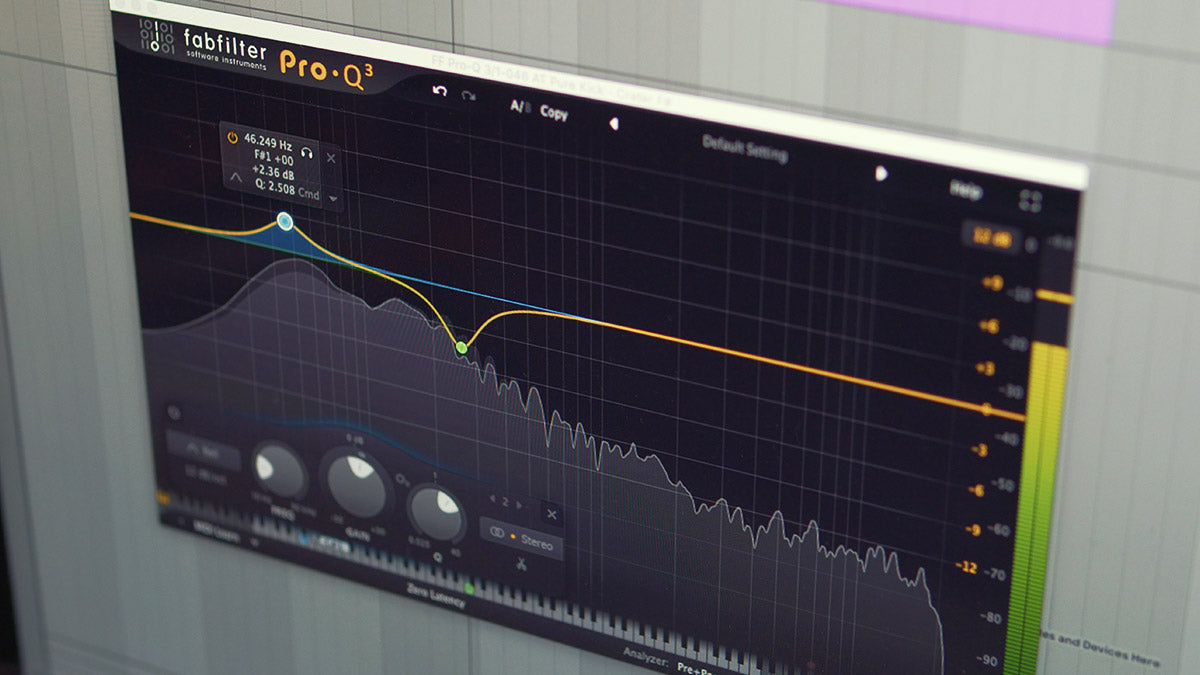
Now that we have the common space dialled in, it’s time to address the character of the drums using an emulation of a vintage EQ. We are not trying to use a surgical EQ to fix any resonances. The aim is to use broad strokes (low Q values) to gently alter frequency balance. Please note a vintage EQ has a tendency to impart a certain colour which will help unify the drum group.

Step 7:
The EQ of choice is Universal Audio’s emulation of the Pultec EQP-1. We start by selecting a broad bandwidth setting, which will give us the smoothest results. Next we add a small 1.5 dB boost in the low end at 60Hz. Finally a generous boost of 4dB in the high frequencies at 5kHz.

Step 8:
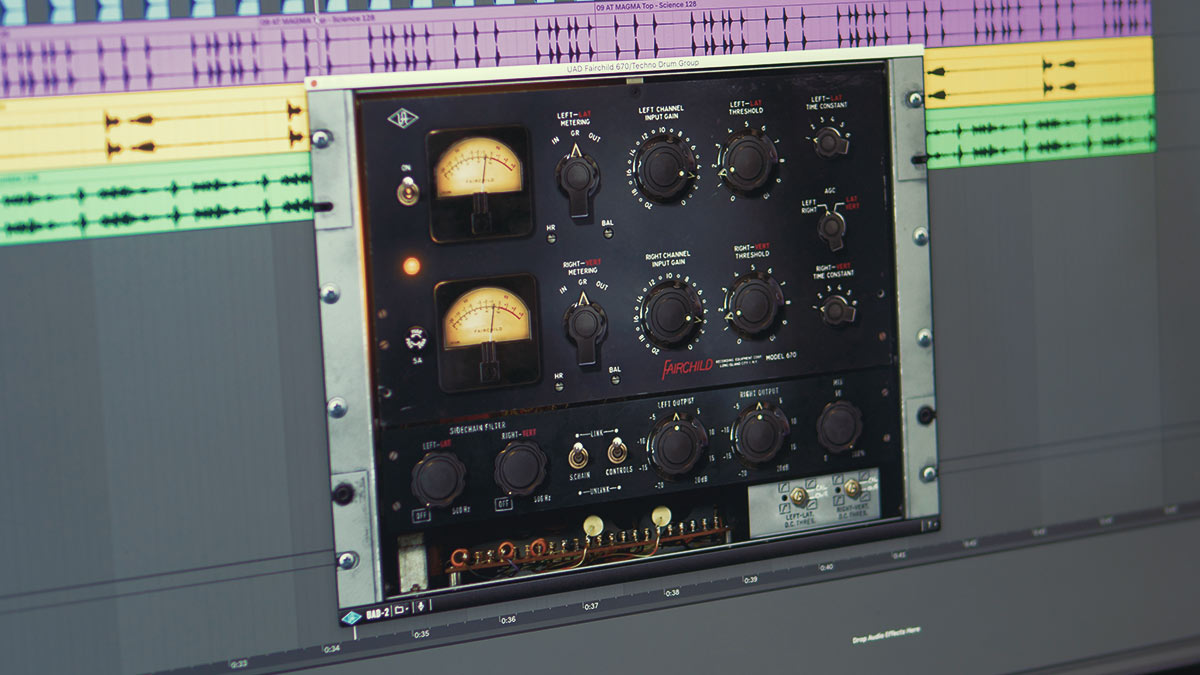
Compression can be a powerful tool when trying to achieve a cohesive drum group sound. First and foremost the compression helps to make the transients consistent. Secondly, some vintage compressors by design have input or output transformers or tubes that can radically colour the signal. This is more noticeable if the signal path is pushed harder.

Step 9:
One of our go-to tube compressors in the software department is the UAD Fairchild 670. Since our tempo is relatively fast at 128 BPM, we are choosing the fastest time setting so that the compressor has a chance to reset after each transient. Using high amounts of gain reduction can considerably affect the feel of the low-end. Therefore we are compressing moderately, a maximum of 1 or 2 dB of gain reduction.

Step 10:
If compression introduces an undesired effect for your particular drum group. E.g. The transients become too spiky. You could skip using a compressor and apply saturation instead. This will add the harmonic distortion required and level out the sharp transients.

Step 11:
For saturation we will use the very flexible and customisable Saturn 2 by FabFilter. This is the last stage of the processing and only a gentle touch of colour from the harmonic distortion is required. Sometimes auditioning a few different presets can give you instant results. ‘Light Saturation’ preset from the Audiotent Saturn expansion bank was a perfect fit for the drum group.

Step 12:
When programming drums using a variety of sample sources you run the risk of your drums appearing incoherent. To conquer this problem we can use tools such as reverb, broad vintage EQ, compression and saturation. These tools applied on the whole drum group will imprint a unique sonic character as well as making your drums sound unified.

We trust you enjoyed following on this step-by-step tutorial. Now its your turn to implement these techniques into your own productions.
Liking the sounds used in this example? Access them all from the following links:
Curve // Full-Size Library - https://www.audiotent.com/samples/curve/
Morph // Full-Size Library - https://www.audiotent.com/samples/morph/
This article was written by Neil & Ed (Audiotent) and can also be seen in Computer Music Magazine.


Leave a comment
This site is protected by hCaptcha and the hCaptcha Privacy Policy and Terms of Service apply.