Perfecting your low-end.
Getting your kick and bass to compliment each other can be one of the most difficult parts of the production process. Follow our guide to master your low-end.
Mixing low-end is one of the most requested topics to cover. It’s an area that a lot of producers, especially less experienced struggle with. Mostly because the room acoustics and speaker setup is not always ideal. Having said that, there are many ways to address overlapping frequencies when it comes to the low-end. We will go through our favourite, tried and tested mixing techniques to get your low-end thick and powerful. Starting with the obvious, but often overlooked level balancing and tuning of the bass.
As always, fixing the sound at the source brings the best results. Therefore we first try to use tricks like shortening the release of the bass within the synth, before going extensively into processing. Shortening the release can make a huge difference as it tightens the bass and stops the decay conflicting with the kick drum.
If you don’t have full control over the synth parameters and are using an audio sample as a source, more traditional processes can be involved to solve the problems. Sometimes a simple complimentary EQ is all you need. If that doesn't help, we can further sculpt the balance of your low-end by applying frequency dependent sidechain. This not only helps to make vital space for the kick, but also leaves the upper harmonics of the bass intact.
The low-end is the foundation of electronic dance music genres and It is worth dedicating required studio hours to master this part of production. If you get this key element right, everything else within the track will fall into place a lot easier.
Let’s get to the grips of mixing the low-end now...
Step 1:
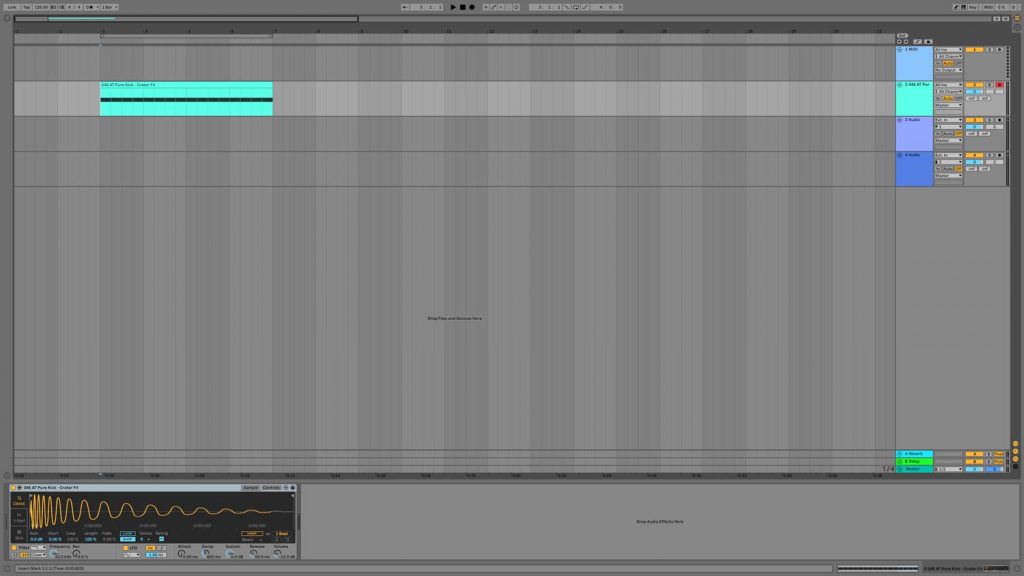
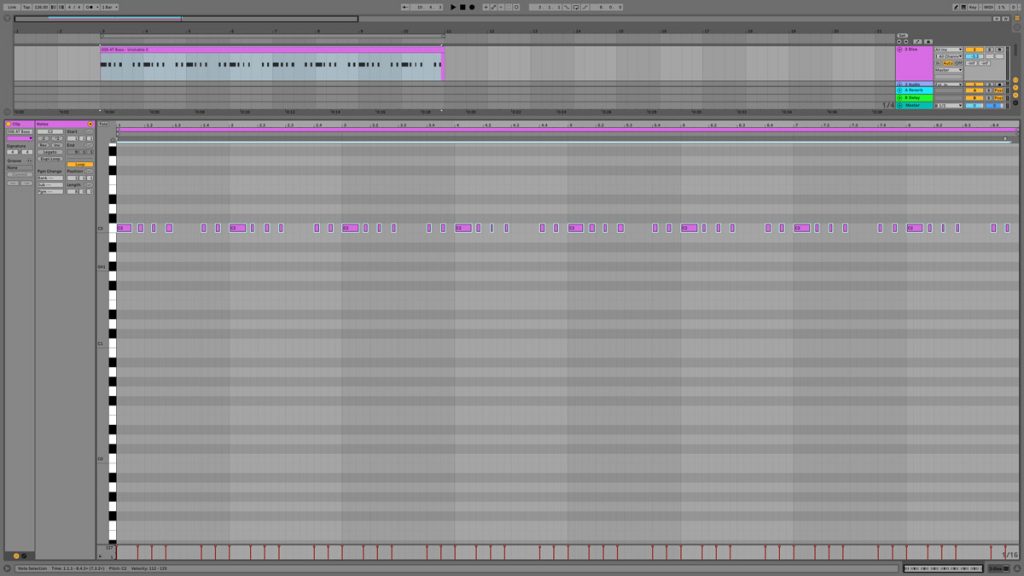
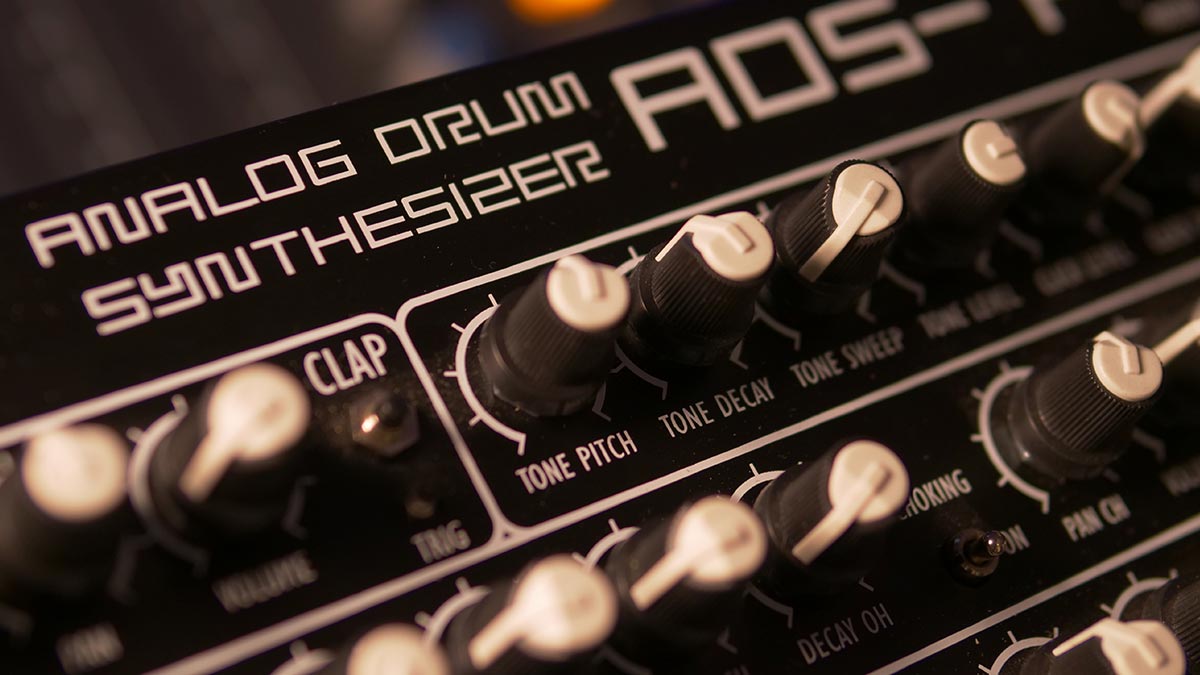
To set the foundation for the track, we are importing a kick drum into Ableton’s MIDI Simpler device. You could also insert it directly into the arrangement as an audio file. We are using a sample from Audiotent Pure Kicks library. These are all sourced from analog drum machines and Eurorack modules. A clean sample is always preferred to an overly processed one.
Step 2:
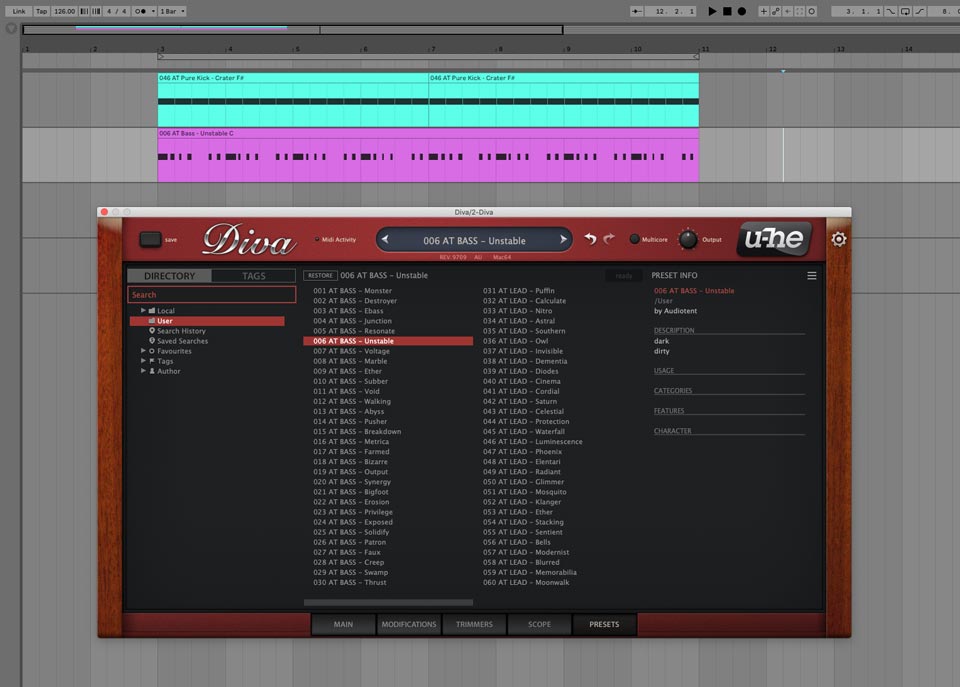
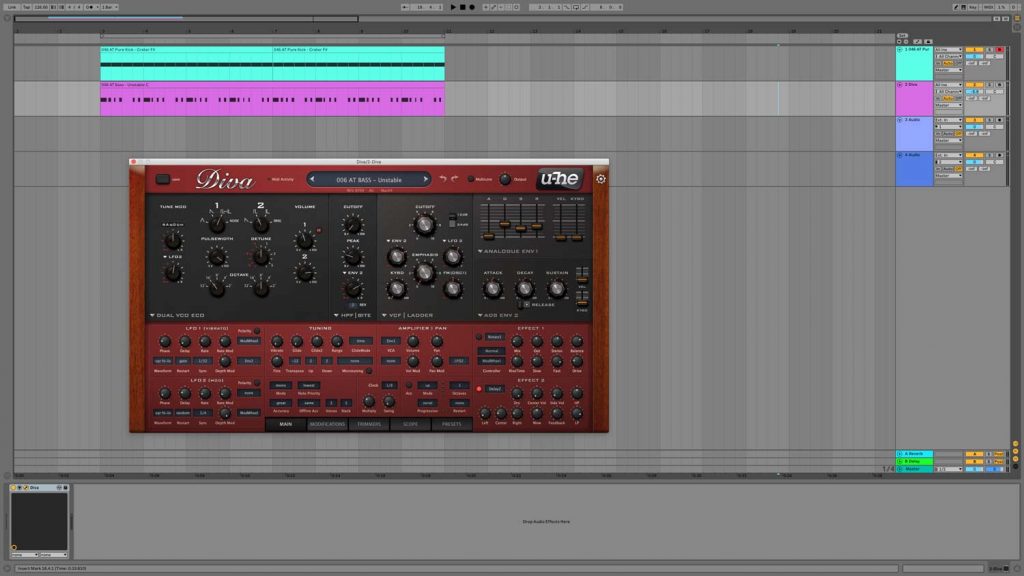
Now, let’s add a synth bass. One of our favourite instruments for the task is u-he Diva. We picked a MIDI and loaded the matching preset from Audiotent Rectify library. It sounds quite good already. However, the bass overlaps with the kick in a few places, so there is some work to do.
Step 3:
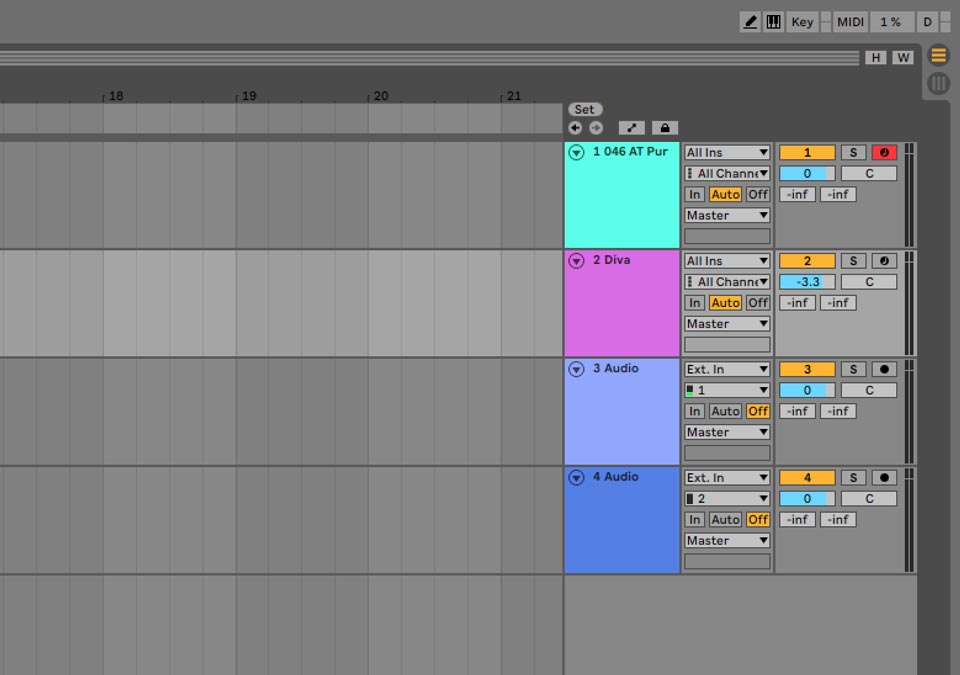
First and most important process of getting your kick and bass to play nice is to find the right balance between them. Generally, in the electronic dance music genres we prefer to give priority to the kick. Bass is mixed slightly below in volume.
Step 4:
One of the most effective ways to make kick and bass work together is tuning one of them till they work as a team. If possible, it is always best to alter the MIDI of the bass synth, rather than re-pitching an audio file. As some pitch algorithms may introduce undesirable artefacts.
Step 5:
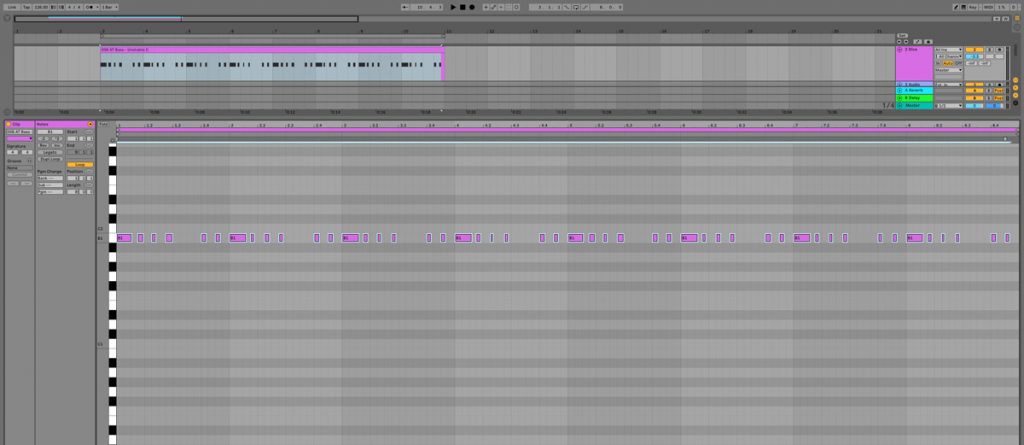
In this example, we have tried pitching the bass up and down a few semitones to find a nice sweet spot in relation with the kick. Normally, if the kick is longer and has a clear tone, it is advised to tune the bass until the kick sits within a scale. In our case, we pitched the bass one semitone down from C2 to B1 as we plan to use a B minor scale. The kick is tuned to F# which is a perfect fifth in relation to B minor bass.
Step 6:
It's always best to fix problems at the very source if possible. Since we have access to the original bass synth patch, we can try shortening the release part of the sound. This will prevent the decay of the bass interfering with the tail of the kick.
Step 7:
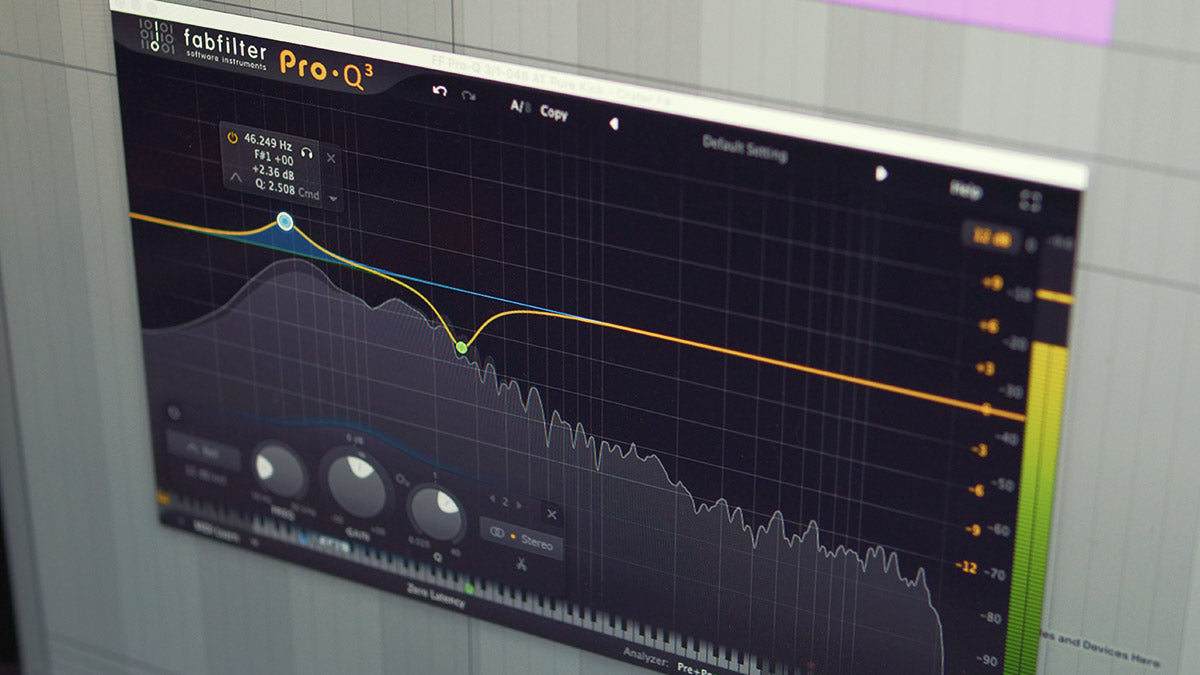
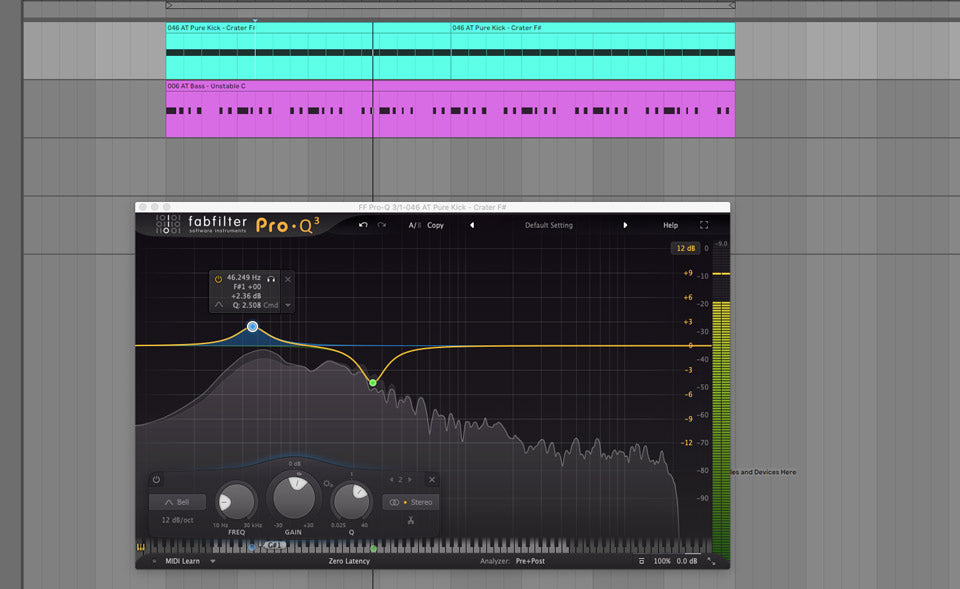
Once you achieved a nice level and timing between the two elements it could be further refined with a touch of EQ. The kick seems to have a slight frequency build up around 260 Hz area. 4.5db cut at 264 Hz was made to clean this up and make space for the upper harmonics of the bass. A gentle 2.3db boost was done at 46 Hz to further extend the fundamental frequency of the kick.
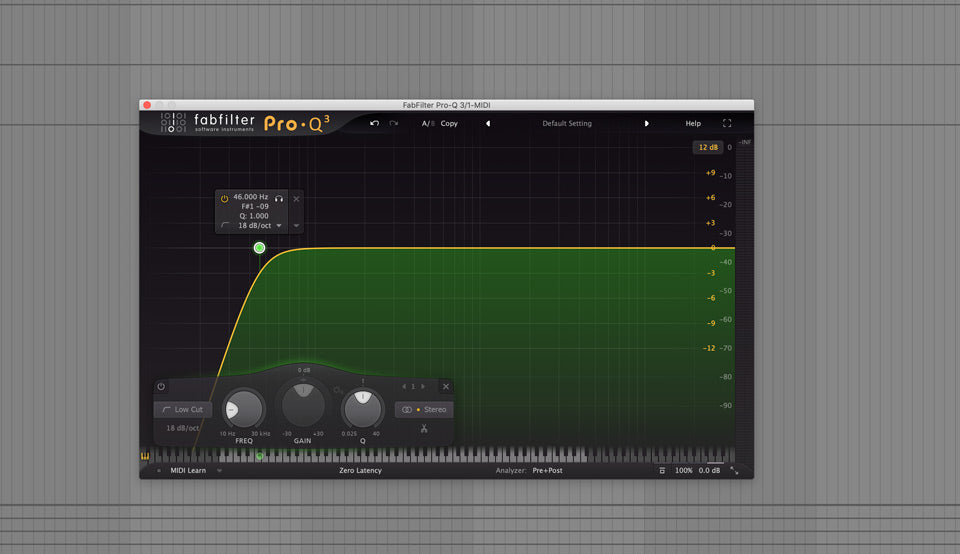
Step 8:
Next, we follow the similar procedure for the bass. A high-pass filter is applied at 46Hz, rolling of the lowest unnecessary frequencies. This is a fairly high frequency to cut at, but since we don’t have any notes lower than B1 for the bass, it’s ok to cut here. Everything below this frequency is eating up your precious headroom.
Step 9:
As a final process, a sidechain trick can be used to give some room back to the kick. We don’t want to sidechain the higher frequencies of the bass, not going for that obvious ducking effect. To achieve this, only the sub frequency of the bass will be sidechained. Therefore we will have to duplicate the bass channel and use EQ to split them into separate frequency bands.

Step 10:
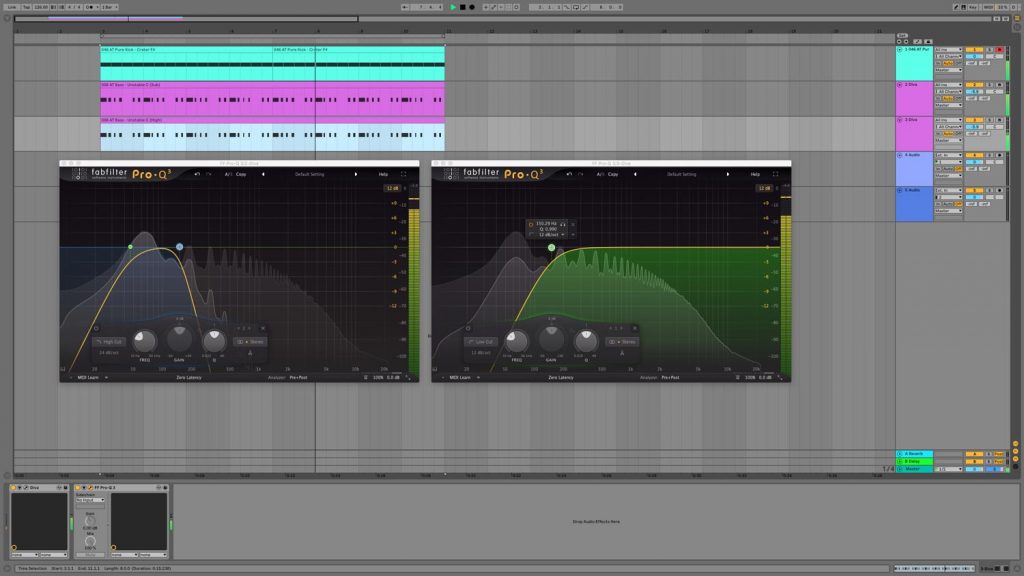
Now that we have two bass channels, the EQ settings can be adjusted on each to isolate the sub. First, for the ‘sub’ bass, low-pass filter at 150 Hz is applied, cutting all the upper harmonics of the bass away. Secondly, the ‘high’ bass can have it’s high-pass filter raised to 150 Hz. We should then be able to get a nice crossover point that doesn't intrude the fundamental frequency of the bass.
Step 11:
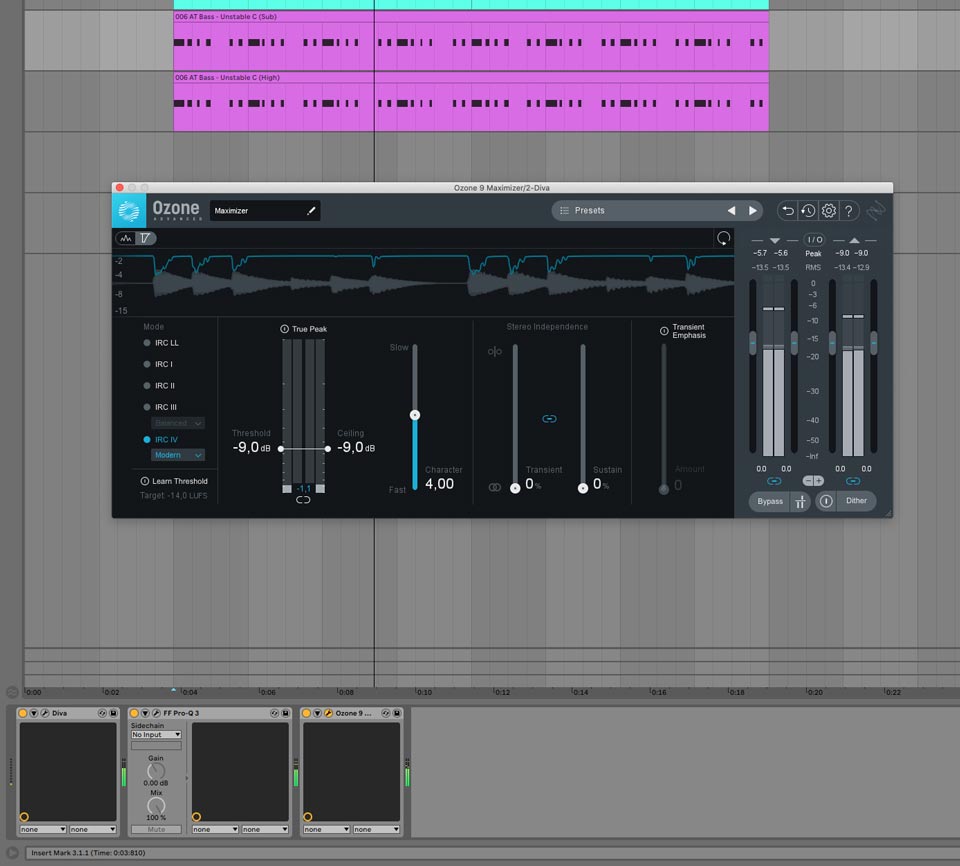
The sub frequency is quite dynamic and could benefit from a limiter to control it’s range of motion. 2 or 3db maximum range of limiting is being applied, which seems like a nice sweet spot and sounds natural and controlled. The output volume is level matched, so we are not tricked that louder is better.
Step 12:
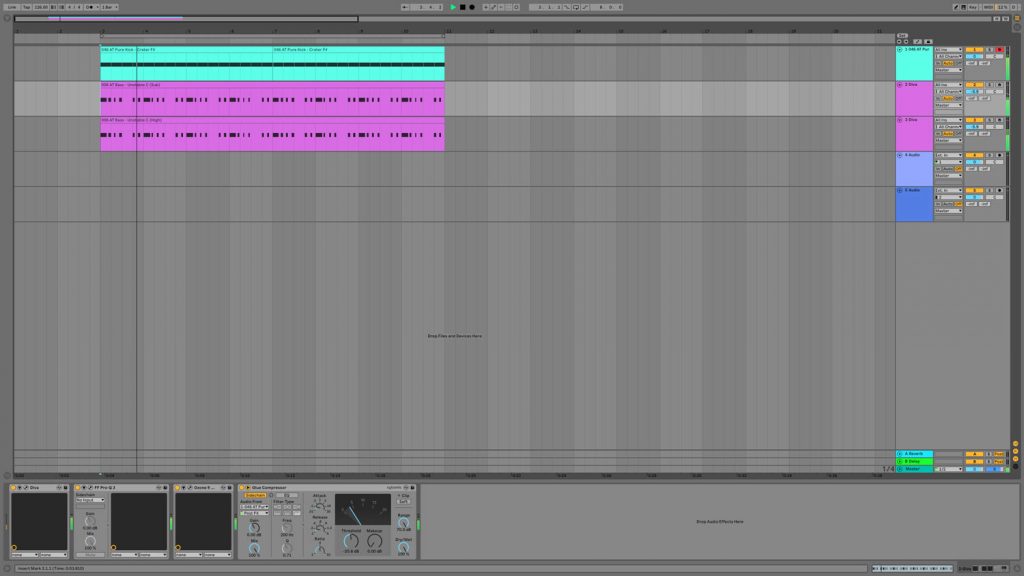
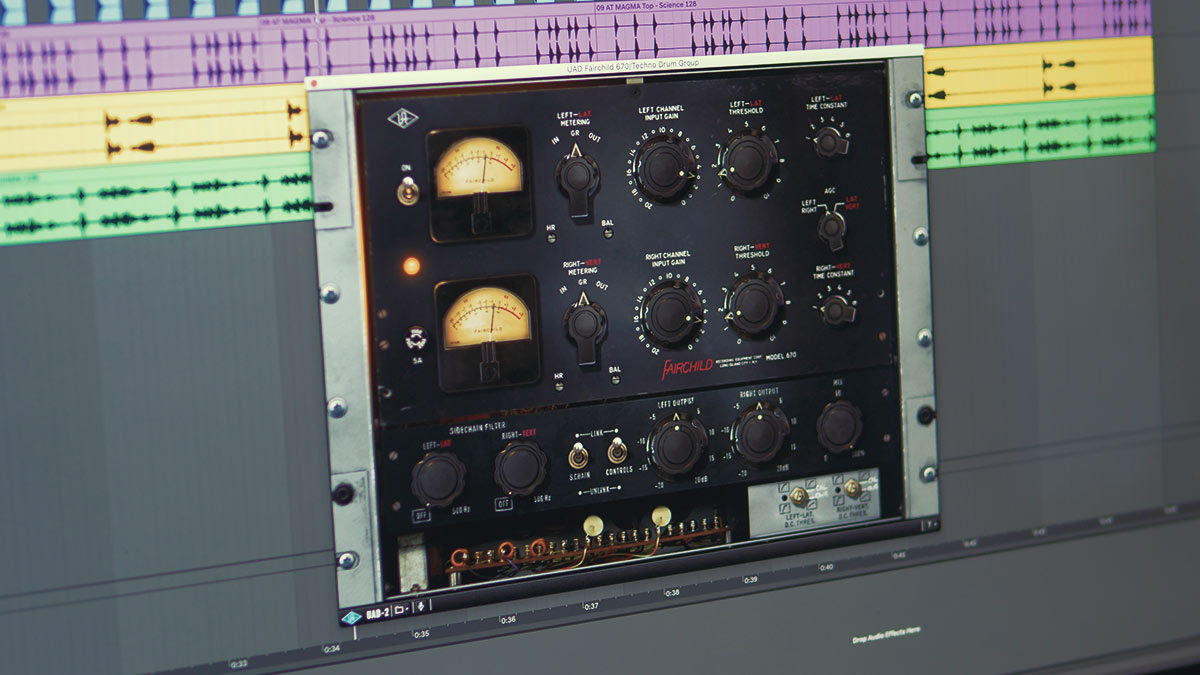
Final mixing step is to apply the sidechain compression to the sub layer of the bass. Ableton’s Glue Compressor is the perfect tool for the task, due to its internal sidechain routing. Once the compressor is inserted, we choose the kick as a trigger. Short attack and release settings help for the compressor to recoup fast enough and not affect unnecessary notes. Threshold is lowered until we get the desired effect we are looking for.
We trust you enjoyed following on this step-by-step tutorial. Now its your turn to implement these mixing techniques into your own productions.
Liking the sounds used in this example? Access them all from the following links:
Pure Kicks // Analog Kick Drums - https://www.audiotent.com/samples/pure-kicks/
Rectify // u-he Diva Presets & MIDI Files - https://www.audiotent.com/presets/rectify/
This article was written by Neil & Ed (Audiotent) and can also be seen in Computer Music Magazine.
Leave a comment
This site is protected by hCaptcha and the hCaptcha Privacy Policy and Terms of Service apply.