
AudiotentTip 306. Frequency Masking Explained.
Please raise your hand if you've ever been working on a mix, and no matter what you do, you just can't get two elements to sit together?
You open up EQ after EQ, boosting random frequencies, cutting random frequencies, add saturation, reverb, delay among other plugins, but the two elements are still hidden and overlapping in the mix.
This is generally down to a psychoacoustic phenomenon known as Frequency Masking. Masking occurs when the perception of a sound is affected and covered by another, distracting the ear from being able to clearly perceive the simultaneous sounds. Basically, two sounds that cover the same frequencies.
Well, there is good news: Having a greater understanding of frequency masking, the tools at your disposal and some time to practice, you too can create those professional sounding mixes where everything is audible and has an incredible sense of depth.
Below, we're going to walk you through how to use a technique called complimentary equalization to help identify and fix problematic masking frequencies.
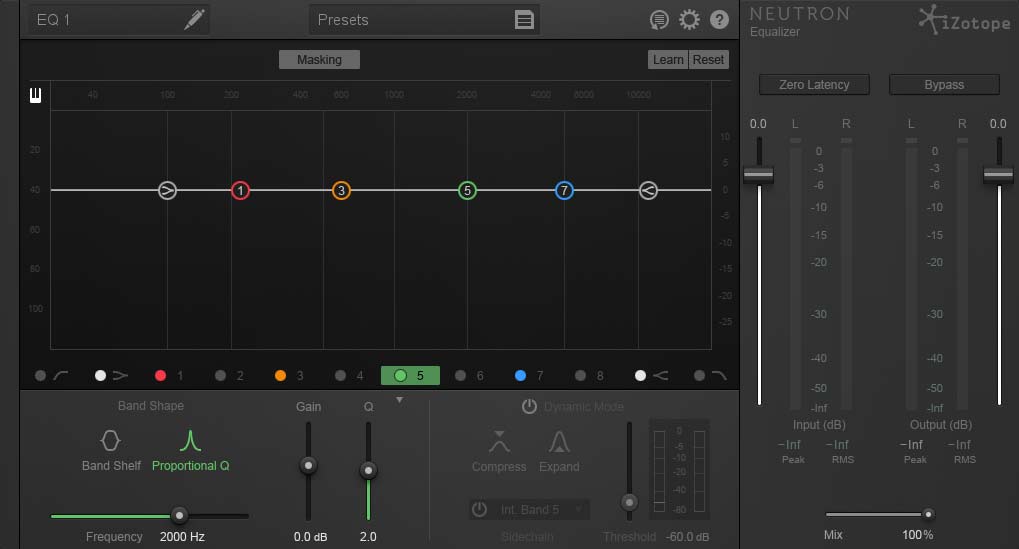
Using complimentary EQ can be a fairly time-consuming exercise. Having to go back and forth between EQ plugins, boosting on one channel whilst cutting the same frequency on another is not ideal. However, there's an awesome new plugin from iZotope called Neutron that will have you dialling this into your mix within seconds.
Ready? Let's dive in...
Kick & Bass.
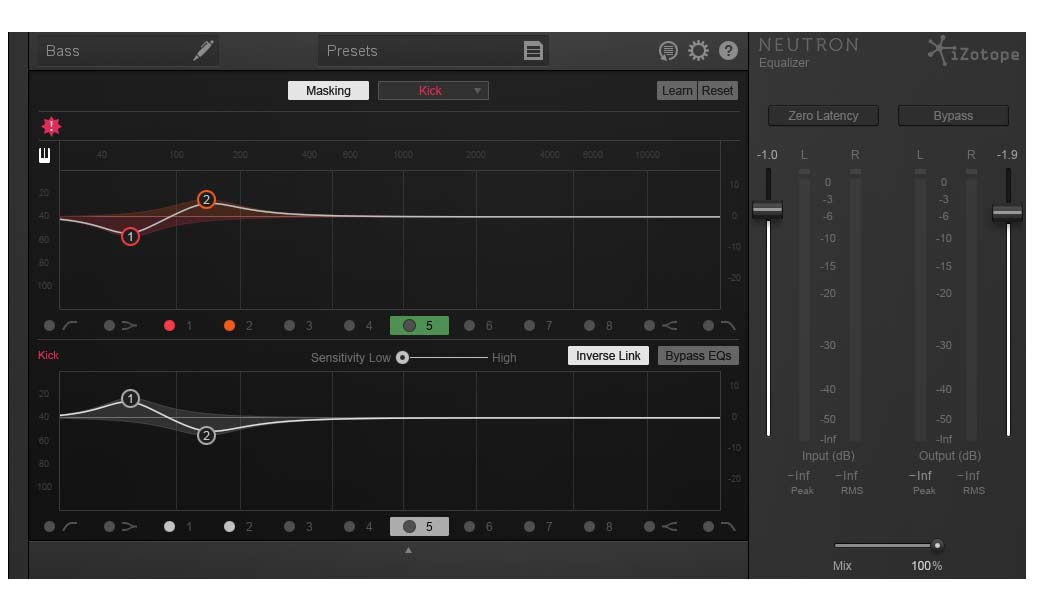
The foundation to every electronic dance music track is the kick and bass. Getting this relationship sitting right is key. This powerful area can be difficult to mix as the kick drum and bass occupy the same frequencies. Using Neutron we can quickly apply complimentary EQ boost and cuts whilst sweeping the frequencies until we hit the sweet spot. Here's how it's done:
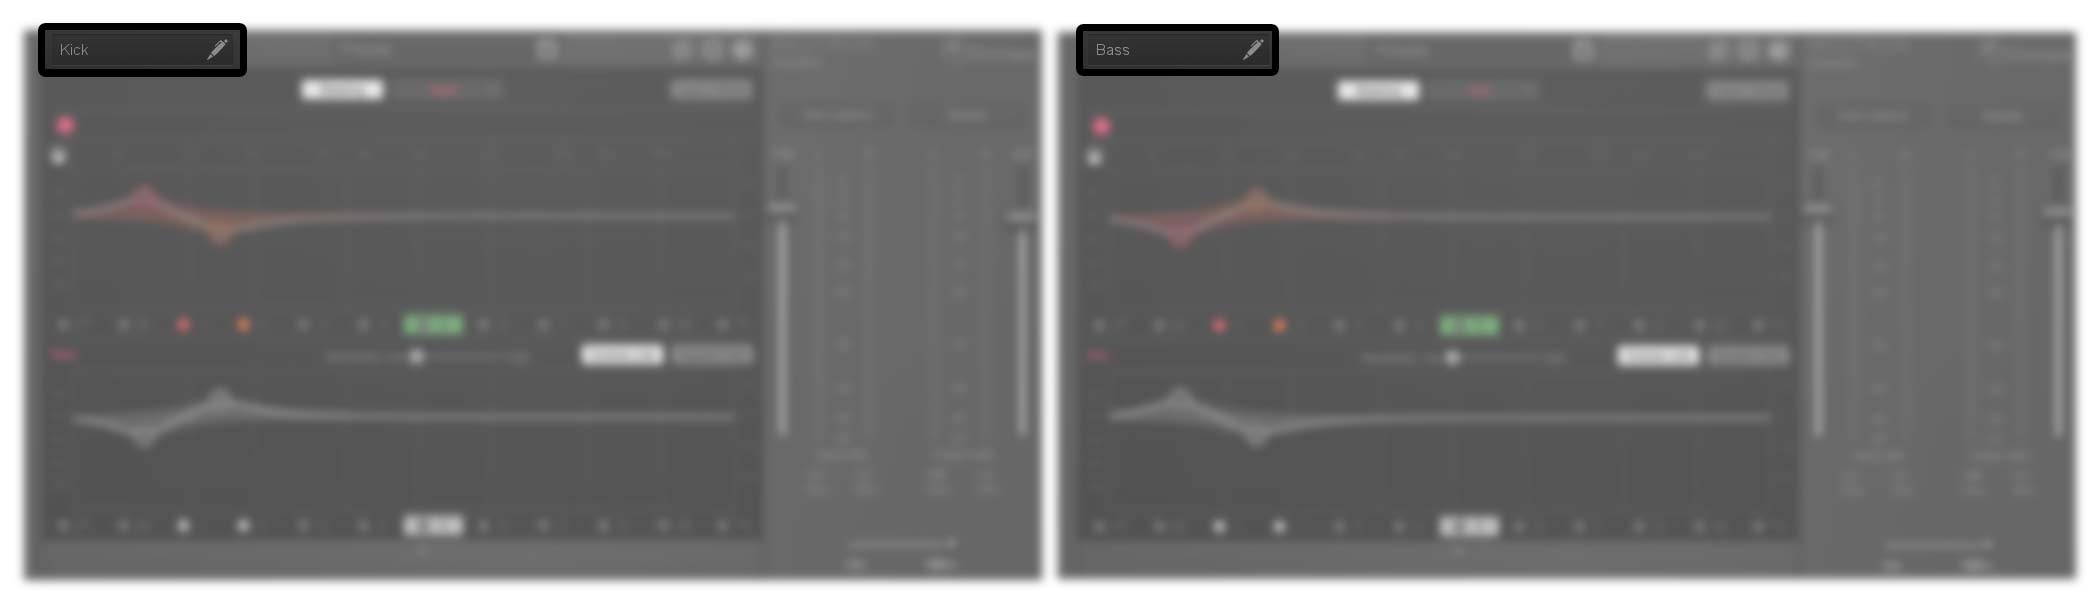
• First, start by applying the Neutron EQ plugin on both Kick & Bass channels.
• Next, inside the plugin, label your channels, Kick & Bass. This makes things easier once you have the masking switch enabled.
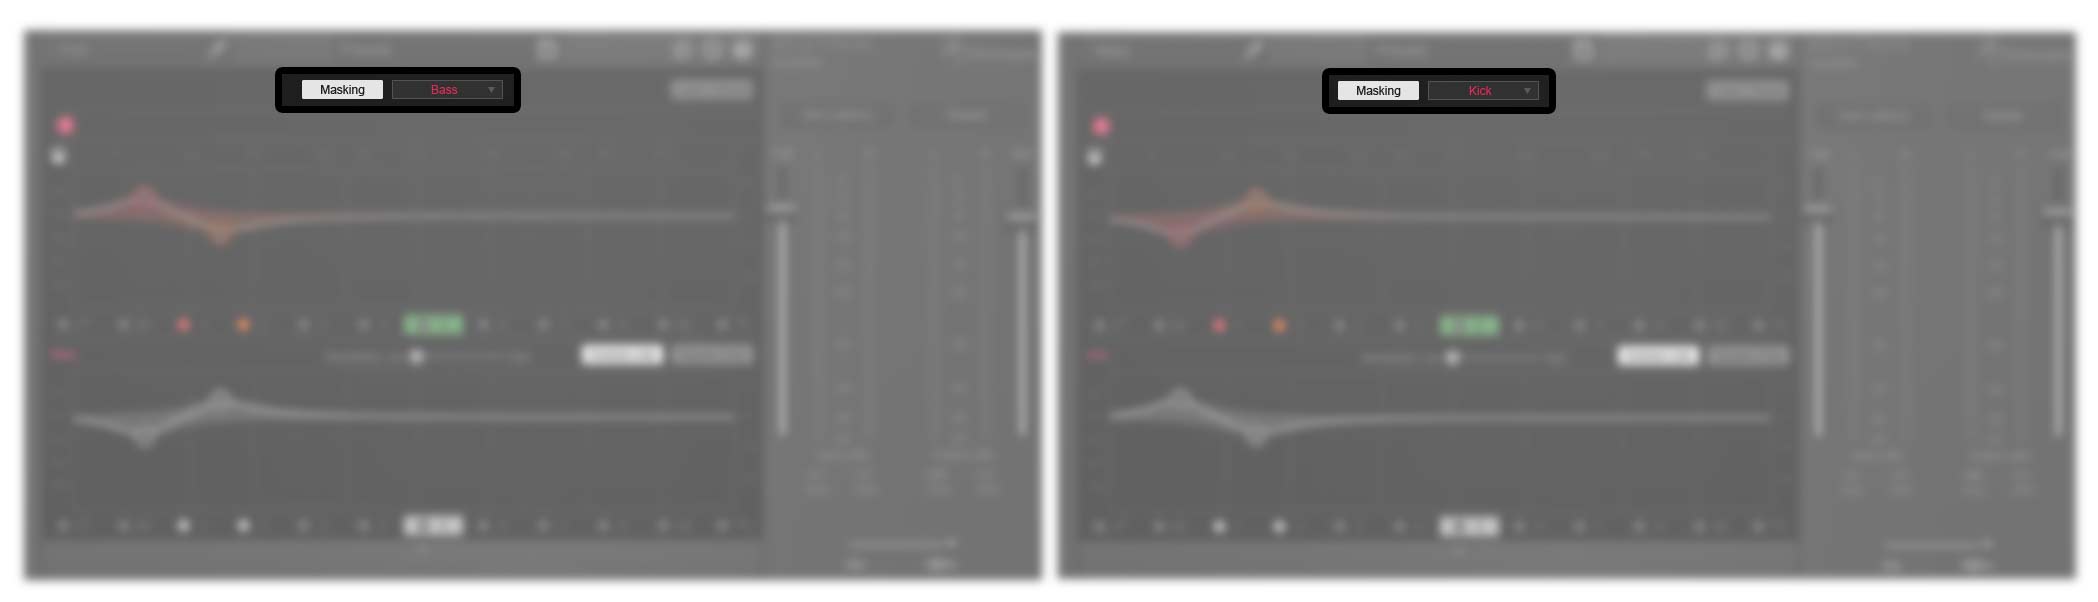
• Go to your Neutron EQ on the Kick channel, switch on masking and select Bass. Then go to your Bass channel, switch on masking and select Kick. Next, click Inverse Link for both plugins. This is where the magic happens. With inverse link activated for both channels, this will create a cut on the one channel whilst you boost at that frequency on the other.
• From here you can now sweep your frequencies to make the kick and bass sit in the mix. In this example, we made a boost in the kick at 60hz to add some weight and helped to clean up the bass.
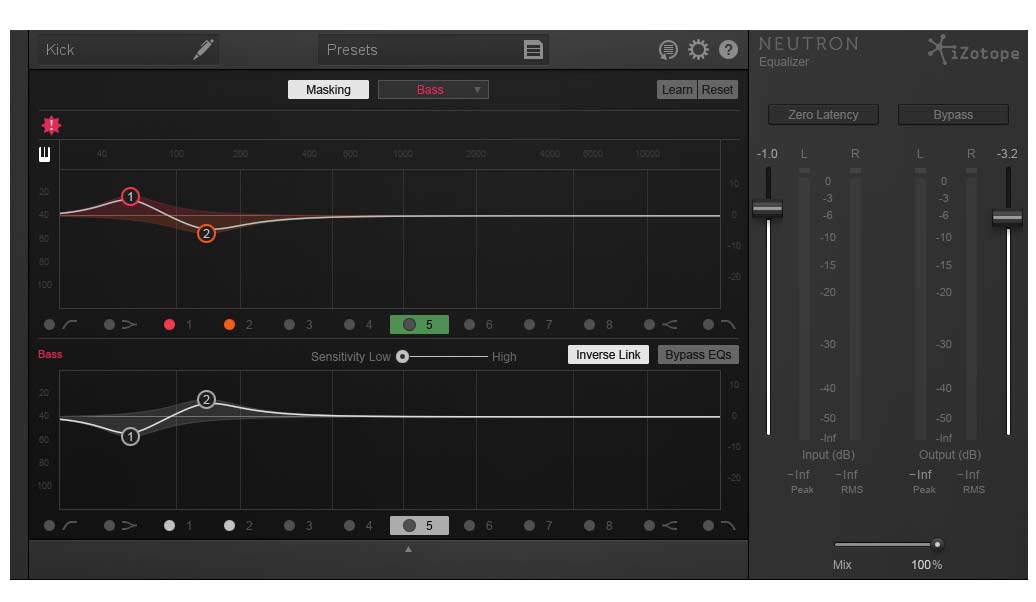
• Next, we added a boost at 140hz in the bass to bring it out of the mix, whilst the kick was cut at this frequency.
Using the new iZotope Neutron EQ is a great way to apply this technique.

Leave a comment
This site is protected by hCaptcha and the hCaptcha Privacy Policy and Terms of Service apply.