
Build your own original percussive sounds by combining a selection of tried and tested synthesis methods.
Many producers rely on the use of single hit percussion samples to create their percussive grooves. Synthesising your own percussion from the ground up can open a wide range of possibilities for timbre shaping and expression. If you’re feeling adventurous, this guide will give you a roadmap to explore the synthesis techniques for creating original percussion sounds.
Synthesising your own percussion has many advantages. One of the highlights being the ability to customise and automate multiple parameters throughout the arrangement. As a result, the sound can be ever-evolving and keep the listener’s interest. Using a synthesizer for your percussion also opens up the opportunity to play a melody via your MIDI keyboard or a step sequencer.
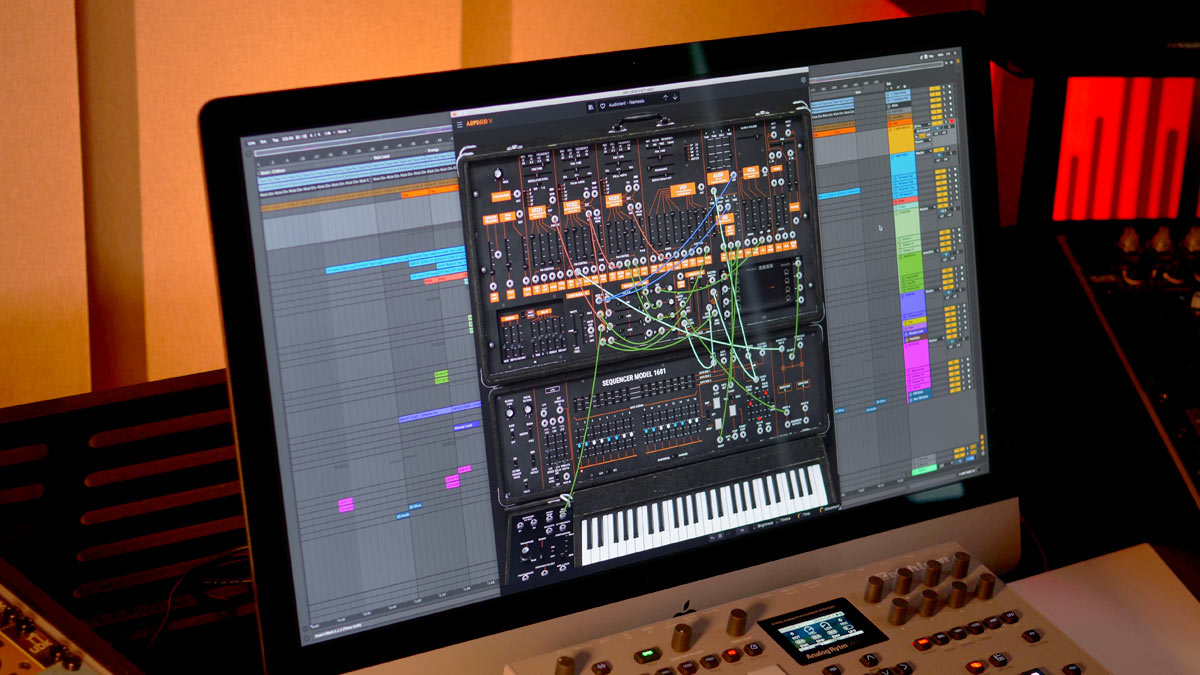
During this step-by-step guide, we would like to explore some of our favourite patching techniques that our team uses when designing percussion presets at Audiotent. Most of the synthesizers are capable of achieving some form of percussion sounds. For our guide, we will be using our trusted u-he Diva instrument. Easy implementation of FM together with a great sound make it a perfect combo.
Adding expression plays a huge role when making percussion sound less static. The use of velocity can help introduce dynamics and inconsistencies. It can be assigned to control the filter cutoff position giving you a brighter sound with a harder key press.
Noise and Feedback are often overlooked when looking to add substance to the patch. Even subtle amounts can greatly enhance the sonic experience to your listener. In some cases, interesting percussion patches are designed entirely from noise and feedback.
Please follow us through as we dive deep into the synthesis and discover some of the untapped potentials that frequency modulation can deliver to your sounds.
Step 1.
The first step is to load u-he Diva into your DAW. Then right-click anywhere on the top information panel and select “init”. This will initialise all of Diva’s parameters to its default state. If you play the keys on your MIDI keyboard you should only be hearing a raw and slightly filtered sawtooth patch.

Step 2.
Diva allows us to select a variety of different oscillator, filter, envelope modules. In this example, we will keep the layout exactly the same as the default state after initializing. This is reminiscent of the Moog Minimoog Model D.

Step 3.
Since frequency modulation will be the core synthesis method, it’s advised to start with less harmonically rich oscillator waveforms. In our case, this is a triangle waveform for oscillator 1 and 2. The oscillator 3 will not be used.

Step 4.
Oscillator 1 will be used as the modulator for the Oscillator 2. To initiate frequency modulation, start twisting the FM 1 > 2/3 dial-up. Let’s go all the way to 100 for the maximum amount of modulation. Adjust the range of Oscillator 1 from 8’ to 16’ for a less ‘ring-ish’ sound.

Step 5.
Inside Diva’s Mixer module, turn the volume of Oscillator 1 & 3 all the way down. We should only hear Oscillator 2 in action. Oscillator 1 is only used as a modulator with no direct sound coming through.

Step 6.
To get this preset to sound percussive, adjustments need to be made to the amp envelope. Bring the Sustain all the way down to 0. Next, start reducing the Decay amount. As you lower the Decay amount, the sound becomes snappier. The Attack is set to fast as default, so it can be left as it is.

Step 7.
Transient detail can be increased with the use of filter envelope. First, move the Filter Cutoff frequency down to around 9 o’clock, this will darken up the timbre. We can then open up with the use of Envelope 2.

Step 8.
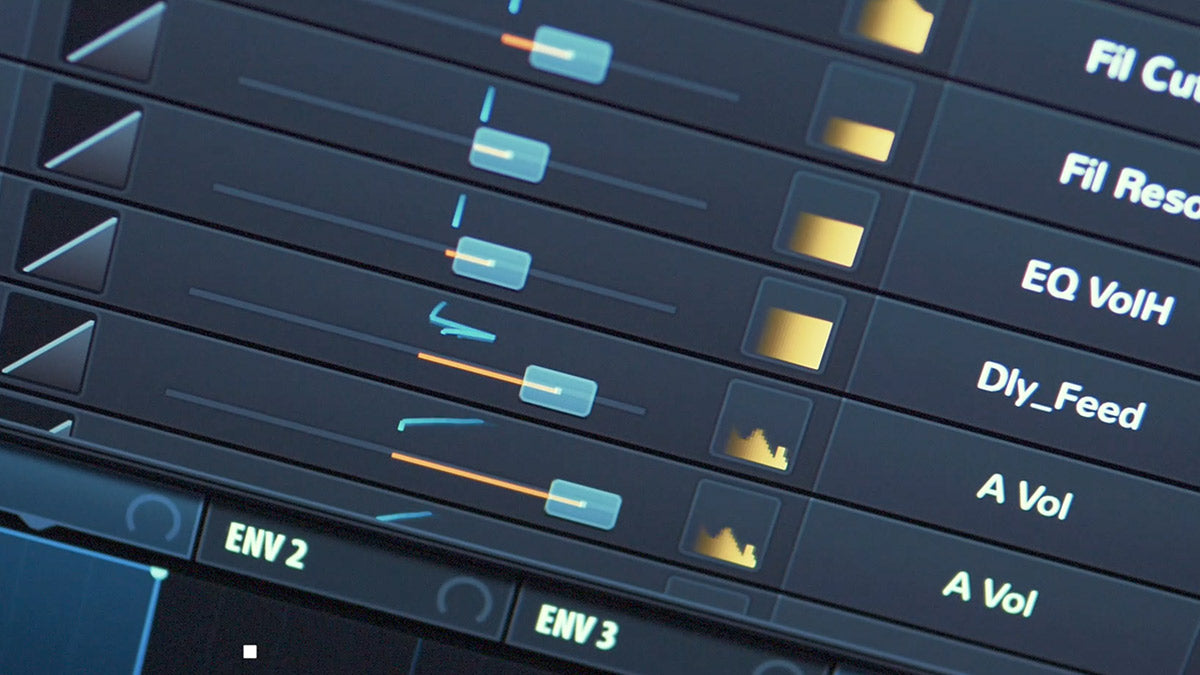
Increase the amount of modulation from Envelope 2 to the Filter Cutoff, around 2 o’clock mark will be sufficient. This will enable you to hear the changes when you adjust Envelope 2 settings. Ideally, this should be a snappy shape with no sustain and fast attack. Tweak the Decay to your liking, we have set ours to show a reading of 32.

Step 9.
Currently, the sound is percussive, yet static. To introduce some dynamics and expression we can assign the velocity parameter to Filter Cutoff position. This will result in a brighter sound when a key is being pressed harder. Similar to the behaviour of an acoustic percussion instrument.

Step 10.
Feedback and Noise can be introduced to the signal path to give the preset an additional interest and sonic edge. Both Feedback and Noise can be pushed passed 12 o’clock mark. As you will hear, this has brought a lot of character and substance to the timbre.

Step 11.
The preset so far is very mono and centred. We can gain a stereo width with the use of effects. Chorus is already set as the default effect in the Effect slot 1. Enable it by clicking the LED button next to its name. The wet amount set to maximum sounds great for this example.

Step 12.
Lastly, a delay can be applied to add rhythmic interest to the patch. Select Delay2 inside the Effect slot 2. Feedback can be increased to prolong the delay tails. We also used the HP and LP filters to bandpass the delay tails. This way the main sound always stays upfront.

We trust you enjoyed following on this step-by-step tutorial. Now its your turn to implement these techniques into your own productions.
Looking for u-he Diva Techno & Melodic Techno Presets? Take a listen to our latest preset libraries:
Rectify // u-he Diva Presets & MIDI Files - https://www.audiotent.com/presets/rectify/
Scope // u-he Diva Presets - https://www.audiotent.com/presets/scope/
Division // u-he Diva Presets & MIDI Files - https://www.audiotent.com/presets/division/
This article was written by Neil & Ed (Audiotent) and can also be seen in Computer Music Magazine.
Leave a comment
This site is protected by hCaptcha and the hCaptcha Privacy Policy and Terms of Service apply.