
Audiotent Tip #417 // Layering and Processing a Techno Kick
We will be using two layers to create our techno kick. Let’s start by choosing the ‘layer one’ and program a simple 4/4 pattern:
The purpose of this kick is to provide the punch and low-end thickness. All unnecessary frequencies above 200-300 Hz will need to be eliminated, since we will use ‘layer two’ to cover that range.
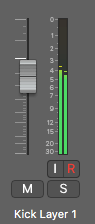
First, have a look at the meter below. It shows us, that the left side of the signal is slightly louder than the right.
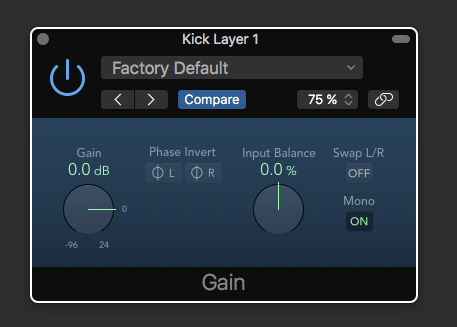
Low-end of the kick should ideally be mono. Just to make sure, let’s load a utility plugin and force the signal into mono.
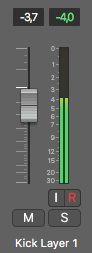
You can now visualise the result in the meter. Both sides of the signal are in the centre:
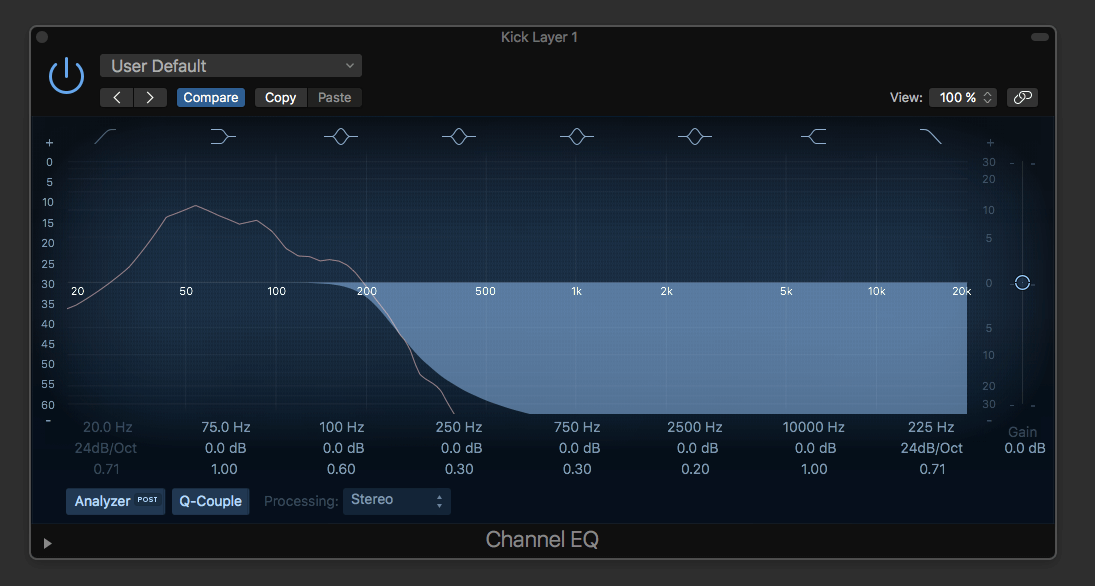
Next, we load an equaliser and use a high cut filter to isolate the low frequencies below 225 Hz.
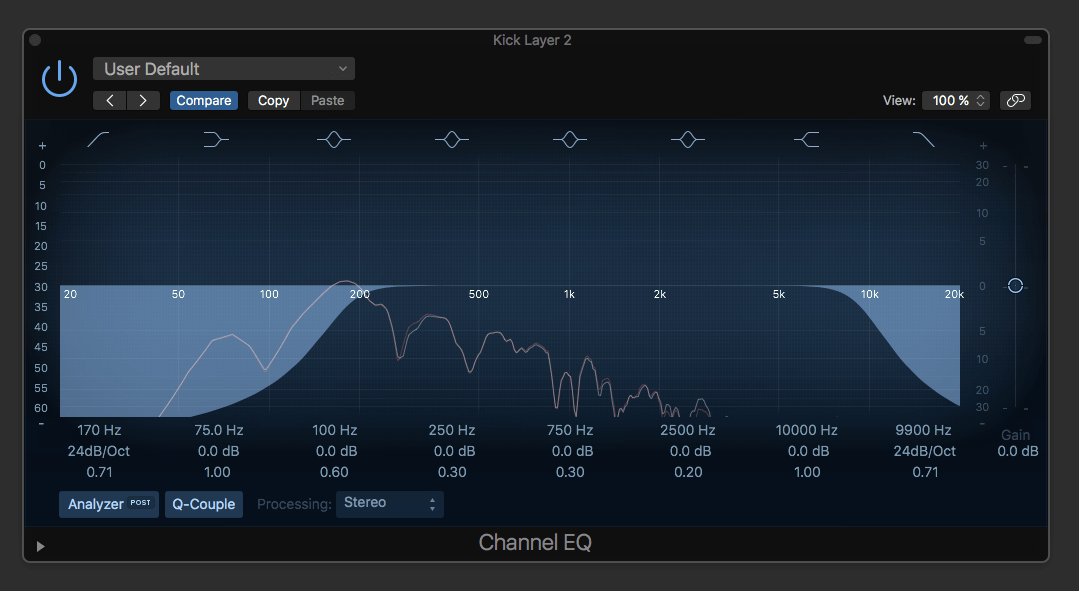
Time to choose the second layer for the kick. Ideally, sound with a forward midrange and thick transient.

First, we are using an equaliser to cut low frequencies below 170 Hz. This will prevent our layers from clashing in the low-end. High frequency cut at 9900 Hz rounds up the transient and removes the ‘fuzziness’ in the very top-end.
Next step is to mix both layers together until it starts to sound like a cohesive techno kick.
Processing
Once we find the best balance, the layers are then committed to a single stem of audio.

Next we add some reverb ambience using Eventide’s Blackhole plugin.
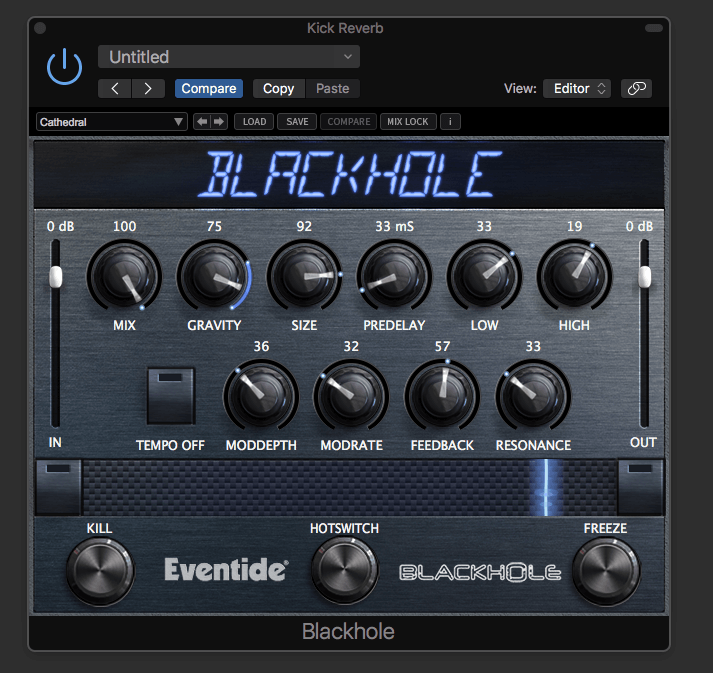
As you can hear in the audio example below. Reverb gives us that classic techno kick ambience, that we are so familiar with.
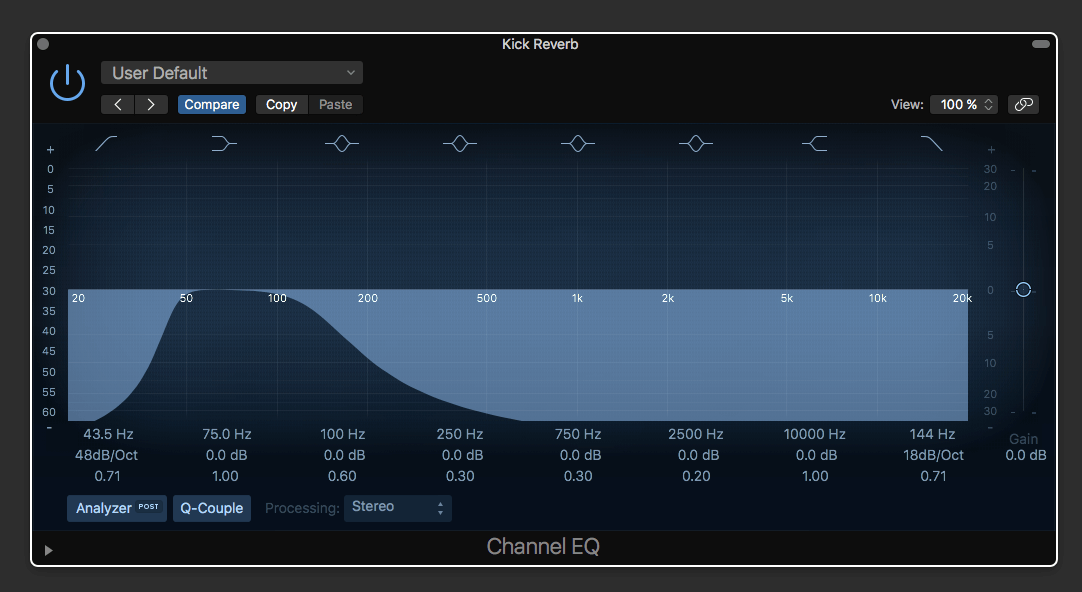
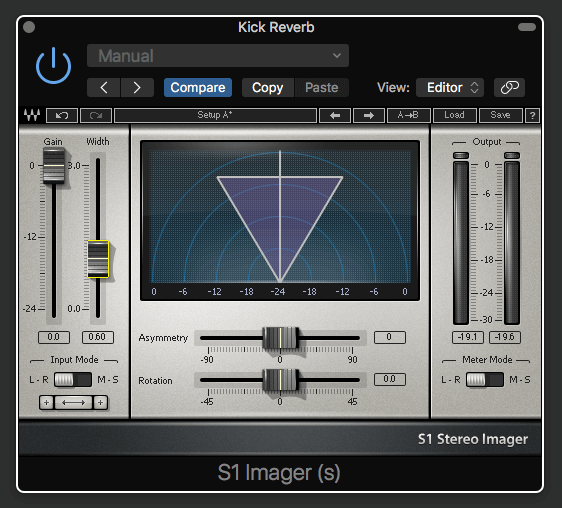
To make the reverb darker and less ‘splashy’, we process the reverb tail separately using the following steps:
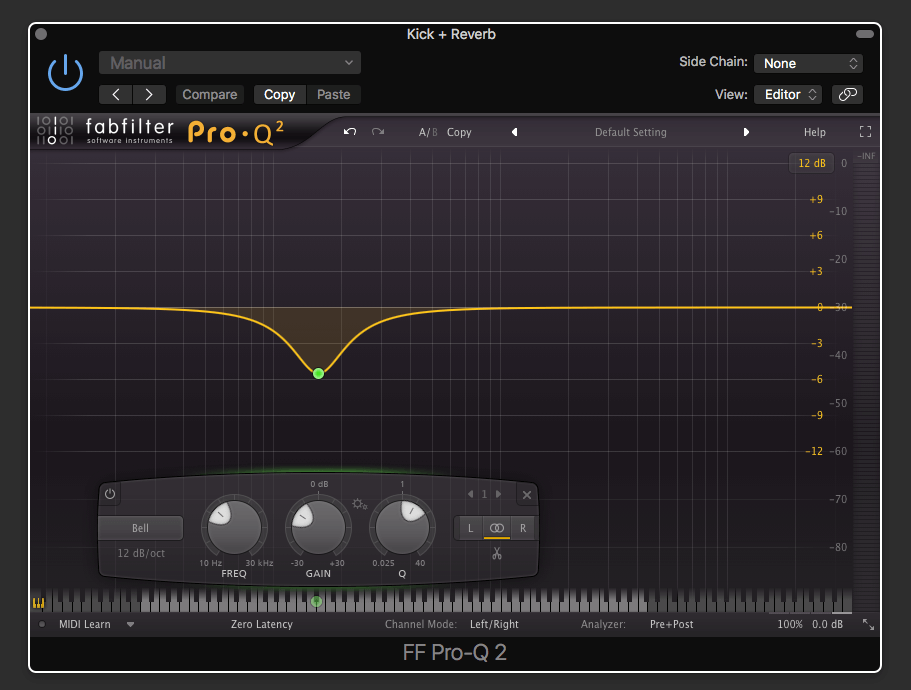
1) Band pass the sweet spot with an equaliser.
2) Narrow the stereo width to add focus.
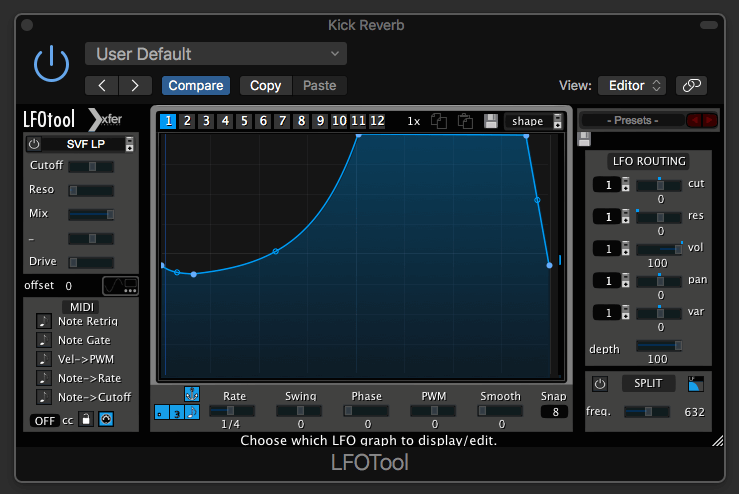
3) Add a touch of sidechain using Xfer Records LFOTool. This will retain the reverb from overpowering the original kick.
4) Adjust the gain of the reverb.

5) Commit the kick to audio, including the reverb.

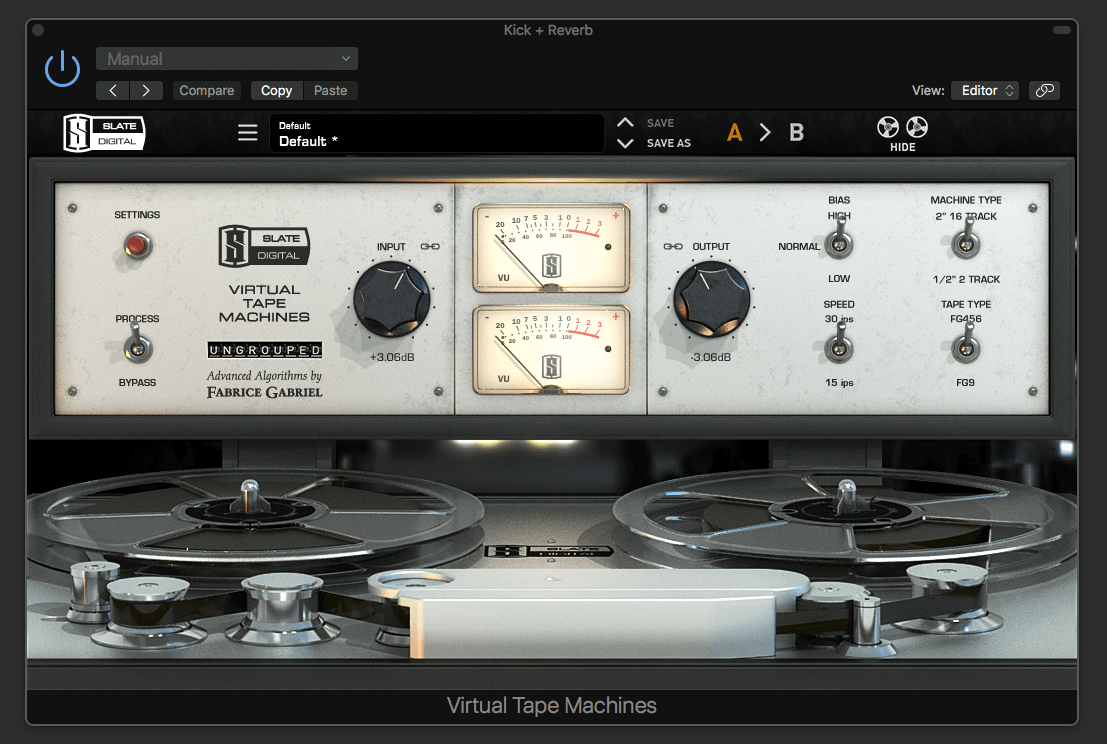
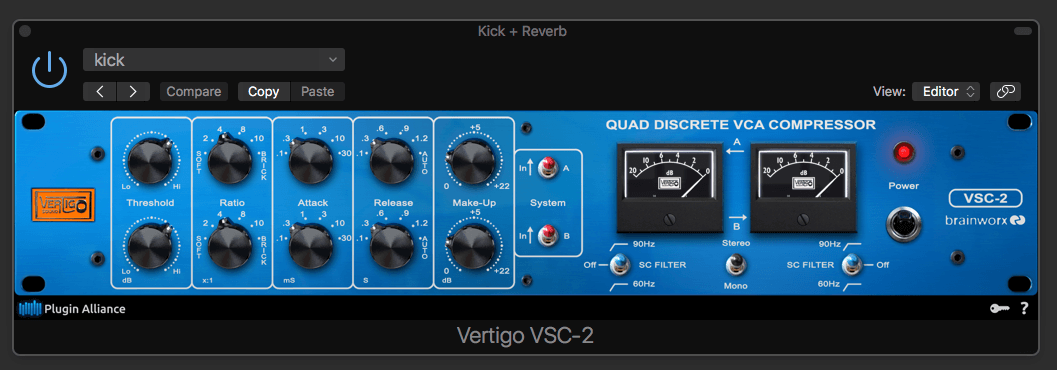
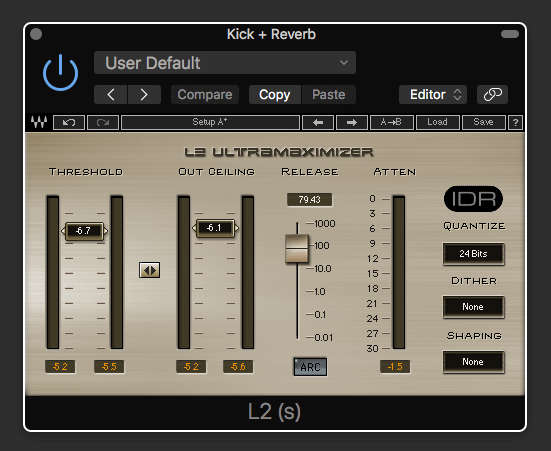
Finally, let's process this kick with a touch of EQ, Compression, Tape Saturation and gentle Limiting.

This is how the kick sounds before and after the processing:
Here is the kick in the context of the mix:
We hope you learnt something new in our step-by-step guide to creating a Techno Kick. Now that you have the knowledge to sculpt your own kicks, it could be a good time to dig in to the musical elements.
If you want to deconstruct and learn how each sound was made from the demo below. You can access every single preset inside Boron // Sylenth1 Techno Presets
2 comments
Leave a comment
This site is protected by hCaptcha and the hCaptcha Privacy Policy and Terms of Service apply.