Discover the sound design tricks used to create a moving bass that changes in pitch.
When we think of walking baselines, often the association is a steppy sequenced synth sounds played in low octaves. Most of the time this is played in by hand, alternating octaves. We can replicate a similar style using synthesis techniques. During this step by step guide we will walk you through the creation of an original walking baseline sound with Sylenth1.
The patch will be based on two sawtooth oscillators. By keeping the oscillator choice simple you will be able to replicate this patch within most software or hardware synthesizers. We will further develop the patch and incorporate some tricks to enhance the stereo image.
The walking style of the bass originates from a square LFO assigned to Oscillator B pitch. To build on the rhythmic complexity a second LFO is introduced and assigned to the filter cutoff. The LFO rates can be automated throughout your arrangement to further express and personalise the sound within your track.
It is always useful to have a performance aspect when creating your sounds. This is frequently in the form of a mod wheel and/or macro assignments. A very useful choice of target for the mod wheel is the LFO rate. You can then use the mod wheel to increase the intensity. This works especially well for build ups and transitions.
Finally a touch of delay always helps to add the extra depth and position it in the mix. We often prefer the delay to be un-synced/free running and dialling in the delay times by ear. In the case of Sylenth1, disabling the master sync will also un-sync the LFOs to BPM. There is no way of having a un-synced delay and keeping the LFOs locked to BPM. Having said that, let's get to it.
Here's a preview of the sound we're going to make:

Step 1.
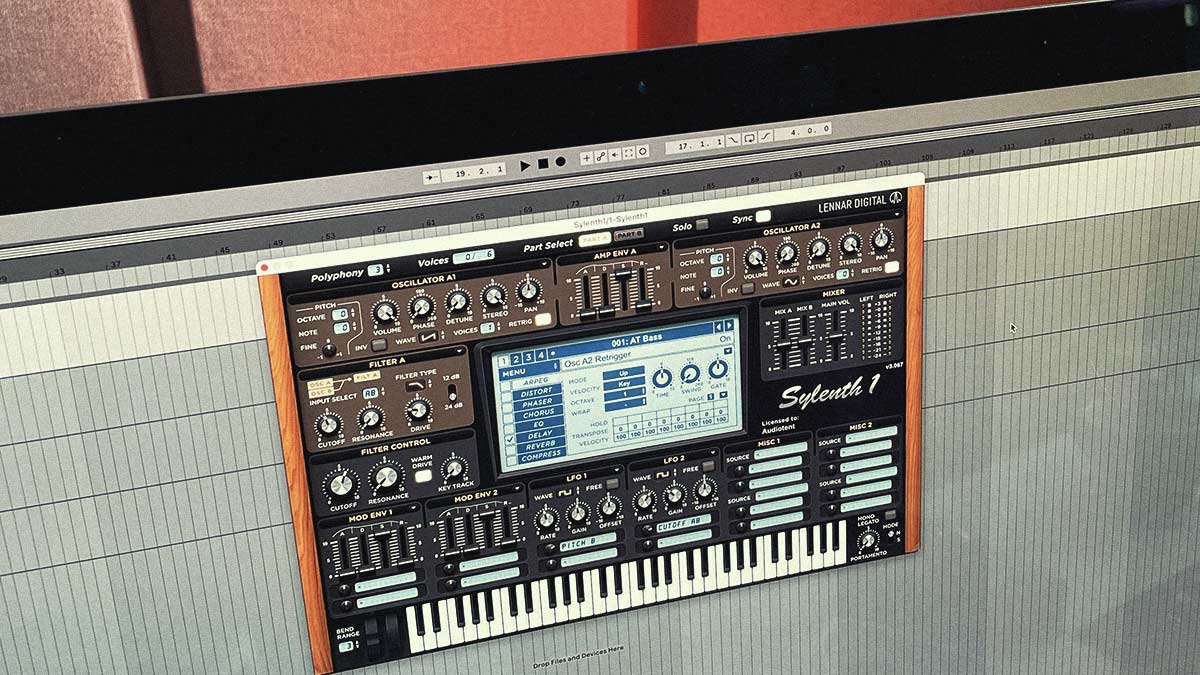
The first step is to load Lennar Digital Sylenth1 into your DAW. Then click ‘Menu’ and ‘Preset > Clear | Init’. This will initialise all of Sylenth1 parameters to its default state. If you play the keys on your MIDI keyboard you should only be hearing a raw unaffected sawtooth patch.

Step 2.
Inside Part B we are enabling a new Sawtooth in Oscillator B1. This is done by increasing the voices from 0 to 1. The reason we chose to use Part B instead of another oscillator within Part A is because we want independent control over the oscillator pitch when using an LFO later on. Transpose Oscillator B1 up +1 octave.

Step 3.
To add some stereo width to the patch, we can increase the voice count of Oscillator B1. Changing the voicing from 1 to 2 and dialling in some detune gave us the result we were after.

Step 4.
Introducing a noise oscillator can help to intensify and thicken up your patches. In this example we are also using it in stereo to expand the overall width of the patch. In Part A, choose the noise wave and increase the voices from 0 to 1. Make sure you reduce the volume of the noise oscillator as this is very loud in its default state.

Step 5.
Since we are making a bass sound a low pass filter is your friend. Engage filter type Lowpass to both Part A and Part B and pull down the main filter control cutoff. Sylenth1 allows you to drive the filter stage to give a somewhat analog inspired sound. Turn on warm drive and adjust the Drive parameter. The sweet spot for this example was around 9 o’clock.

Step 6.
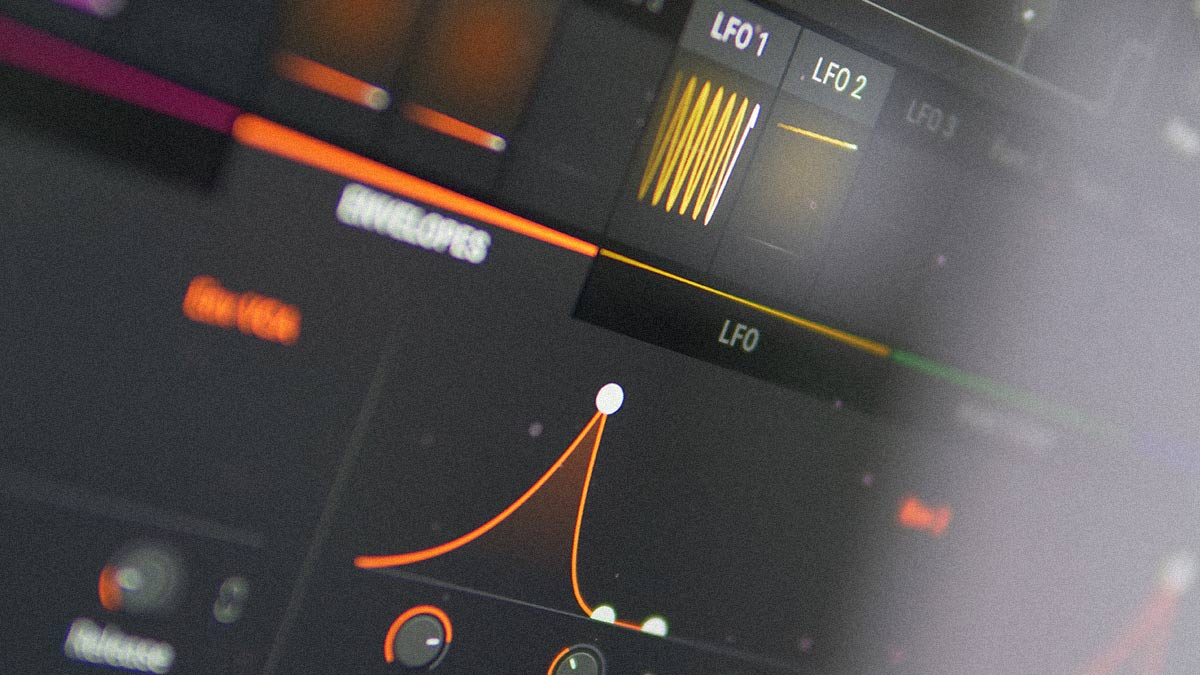
Now it’s time to dial in the signature sound of a walking bass. LFO’s are there to help add movement to your otherwise static patches. Square LFOs are often overlooked against sines and triangles. However, if you want a stable change in pitch without it sounding like a pitch bend the square wave is the perfect tool for the job. Select the Pulse wave for LFO 1 and set the rate to 1⁄4.

Step 7.
You can assign the pitch of LFO 1 to both oscillators. Having said that, we are only assigning it to Oscillator B. This will replicate a similar feel to a duophonic patch. When tuning the Pitch B amount we find that 5ths and octaves sound the most musical. Set LFO 1 gain to 5.0 and Pitch B to 4.067.

Step 8.
To keep the patch interesting we are going to apply another LFO and this time target the cutoff frequency of the main filter. To build on the rhythmic complexity we will set the rate of LFO 2 to 1/16 and choose the same Pulse wave as the source.

Step 9.
Experiment with the amount of modulation and make sure that you have your main filter cutoff knob somewhere towards the middle (12 o’clock). This will enable you to hear the affect. You can also try changing a variety of waveforms. Select Saw and hear the difference in modulation.

Step 10.
The patch is sounding nice and close to completion. To add more interest and movement for held notes an envelope to filter cutoff can be applied. A slow decay and medium release will close the filter down over time.

Step 11.
In all of our patches we like to assign a performance element, either in mod wheel or macro assignments. As Sylenth1 doesn’t give you the option to assign macros we will have to make do with the mod wheel. Set Misc 1 source to be Mod Wheel and the destination to be LFO 2 Rate.

Step 12.
The final step is a touch of delay to make the preset sound alive. Setting that were chosen for this were a 40% dry/wet mix, 1/8D delay times on both left and right channels. Low cut increased and ping pong option enabled.
Here's the final sound we have just created:
Looking to expand your Sylenth1 preset collection? Why not take a look at our extensive range of Sylenth1 preset libraries.
This article was written by Neil & Ed (Audiotent) and can also be seen in Computer Music Magazine.

Leave a comment
This site is protected by reCAPTCHA and the Google Privacy Policy and Terms of Service apply.